This journey began in the winter of 1996. I was 14 years old and my parents had finally given in to my years of relentless nagging. My dream car then (and now) was a 1964 Impala convertible. I didn’t have a license, and my life savings was built from my paper route, lawn mowing, bmx-bike-hustling, and cordwood stacking. Step one in car-buying at the time, was to grab a “Want-ad” (this is way before the internet was a thing), and I began the hunt for my dream car.  Now, I wanted a ’64 convertible because they were in all the Dr. Dre, Snoop Dogg, and Ice Cube videos, and the definition of “cool”. That said, I was open to all 58-64 Impala’s, and even a few other model cars if they were a good enough deal. Let’s be honest, it basically just needed to be a car that would look cool and impress the ladies. That being said, if I wanted any chick-magnet of a classic car for an embarrassingly low amount of money, it was going to need a lot of work to be drivable.
Time passed slower than the pre-present hours of Christmas morning and my dad and I had looked at dozens of forlorn Impalas. I remember a few quite vividly. One was a red ’62 SS, that looked like a can opener had opened the entire passenger side of the body from headlight to taillight. Once the can-opening was complete, the car must have been parked at the bottom of a mosquito infested swamp for at least a decade. Then there was another “Factory big block 64 Impala” that we went to look at, only to find out it was a ’65 and the drivetrain was gone years ago. Apparently those were not things worth mentioning over the phone. This is the time in life when I learned to ask vital questions over the phone before driving two hours away.  Looking at endless amounts of cars like these was truly soul crushing, and my drop-top Impala dreams were evolving into rusty AMC Pacer nightmares. Nevertheless, I pushed onward, and my extremely patient parents continued putting up with my automotive antics.
Seasons changed and it was a hot day in June of 1997. Â I had just grabbed the newest Want-advertiser from the local “Quick-Check”. I flipped to the back of the weekly mag where the “classic cars” section was located, and I saw it. A ONE-OWNERÂ 1964 IMPALA CONVERTIBLEÂ for $2500 obo. This was most certainly outside of my budget by a fair amount, but I figured if I begged and pleaded with my parents hard enough and made promises to pay them back in short order, maybe…JUST MAYBE… I could pull this deal off. Â I made the call, set up a time, and we were on our way to look at another junky car.
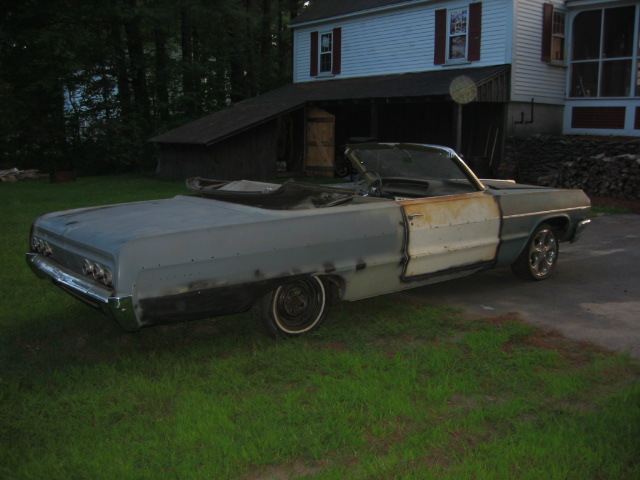
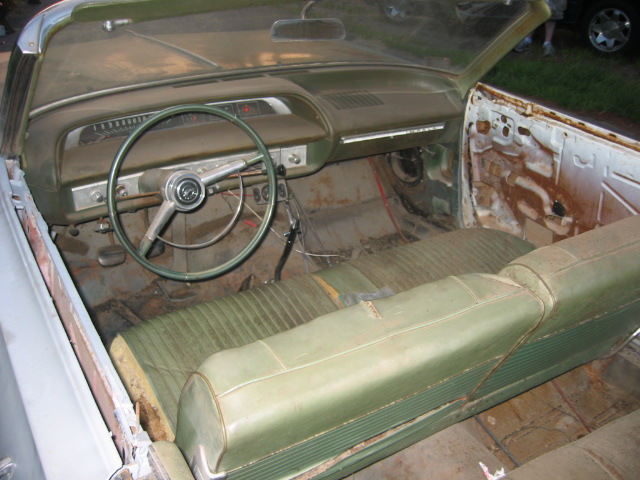
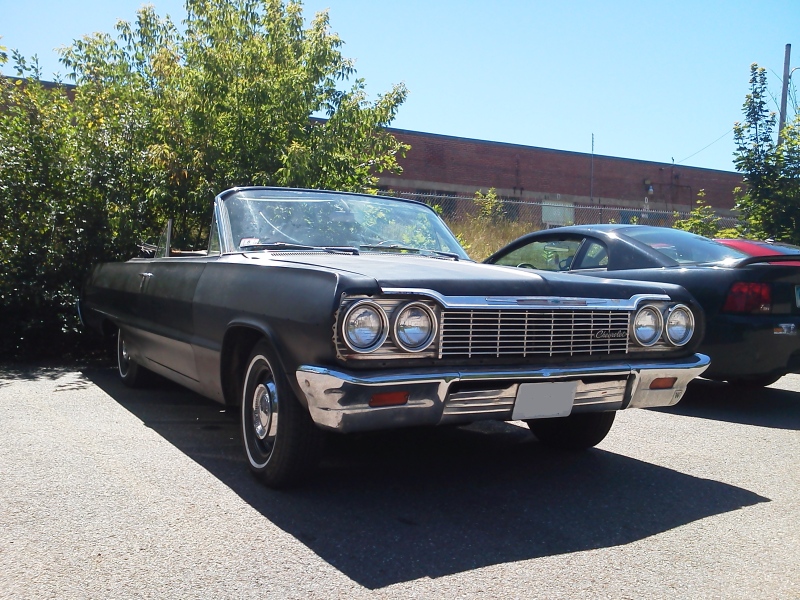
I was so nervous when we arrived.  We pulled into the driveway of this absolutely massive mansion with a large “carriage house” planted next to it. We met the owner, well, actually the daughter of the owner (the owner had recently passed away), and we walked toward the carriage house. There were four paint-chipped garage doors in front of us resting firmly on the hard-packed dirt floor. The boyfriend of the owner heaved open the door on the left. Behind the door was a beautifully filthy Bahama Green Metallic 64 Impala convertible with a black top. Inside, it had an olive green bench seat interior, 3 speed on the column, and a 230 straight six under the hood. It’s entire life was spent on the dirt driveway and on a dirt carriage house floor. This meant the floors, doors, fenders, and quarters of the Impala were all rotted.  It was PERFECT…for me.
Before we go any further, I should tell you about a bit about my dad. My dad is a life-long car guy, and although I would never admit this to him (I don’t want him to get an ego), I have never met somebody with more automotive knowledge. I’m not sure such a person could exist. His vast knowledge of the mechanical workings of all cars is something I cannot even put into words, and I could not have had a better “vocational” teacher throughout my life. He is one of the very few people in the world that had been ASE-certified since it began in 1972, and continued to be until his retirement in 2013, even though his job hadn’t required it in decades.
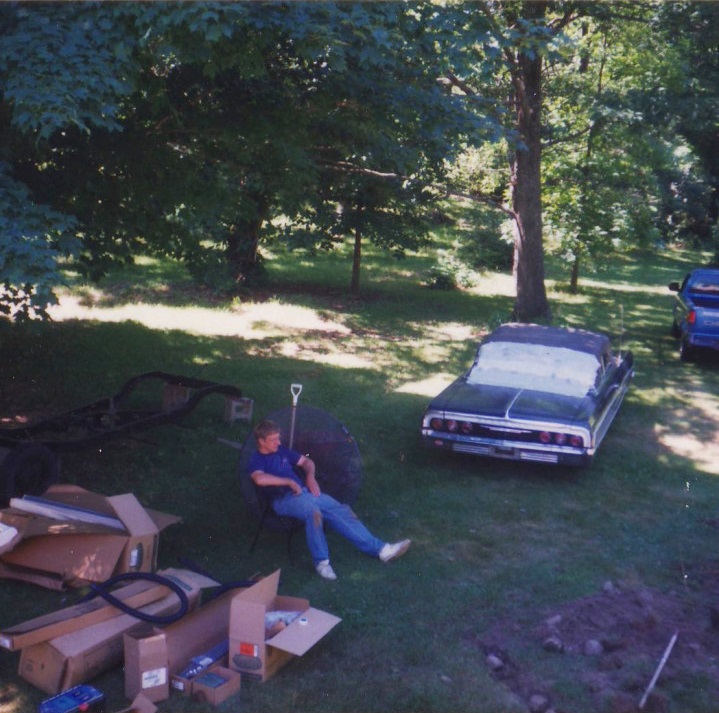
Fast forward back to the moment we were gazing at my future Impala, and I could see that my dad was smitten. He gave my mom a half smile, rubbed his mustache with his thumb and fore finger, and said something along the lines of “It’s a pretty honest car.” I’m not sure exactly what happened next because I think I had blacked out from sheer joy, but we negotiated the price slightly, got a tour of the mansion, and shook hands to seal the deal. Â Holy hell, I was 15 and the owner of my dream car. A real 1964 Impala convertible. I was incredibly ill-prepared for this.
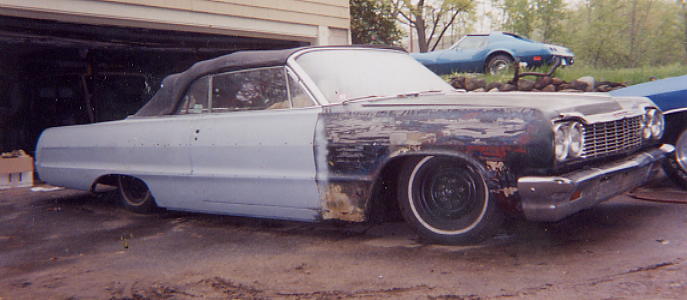
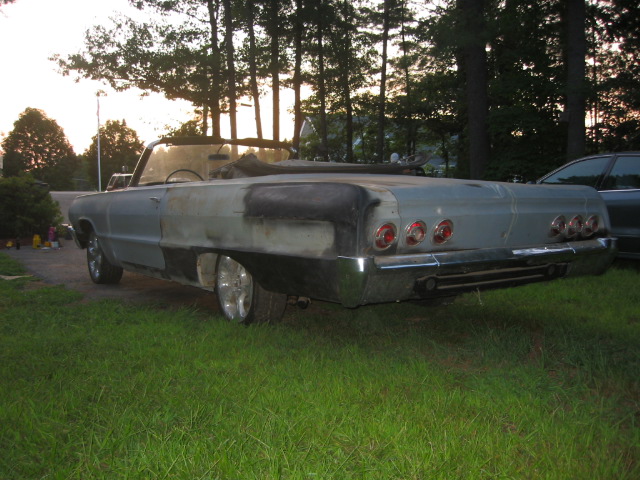
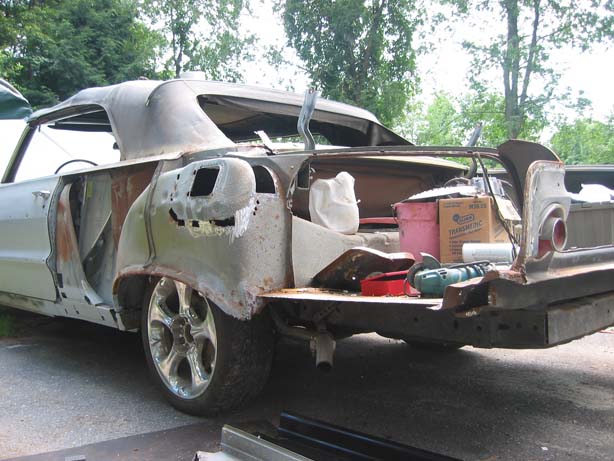
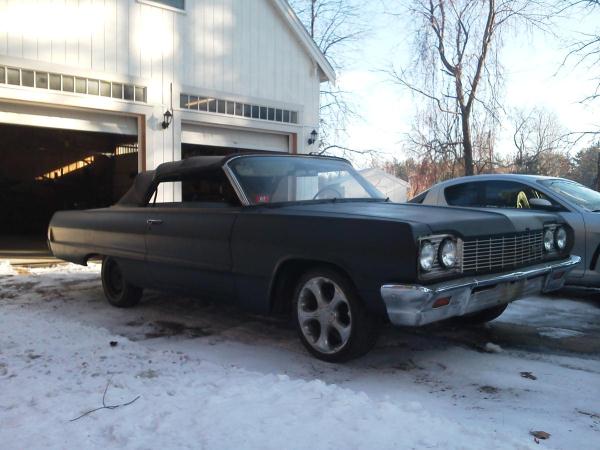
This is the earliest picture that I have of the car. The rear window wouldn’t stay zipped, so I put a plastic bag over it. Seemed legit.
So, being young, inexperienced, and full of ambition, I ended up stripping most of the parts from the car and beginning a body-off restoration.  Eighteen years later, I can assure you that doing this was a huge mistake. What I should have done was fixed everything that needed to be fixed mechanically and driven it. I had severely underestimated just how much work a true restoration was, and how time consuming it is when you also have school obligations, a high school job at a grocery store, outdoor work space with long winters, and of course, girls to date.
Unfortunately, I have limited photography from this point in time because digital cameras were incredibly expensive back then and I had no clue that 18 years later I would be documenting this build on “the world wide web”.  The pictures that I do have show the car in various stages of restoration where I pulled the body off the frame, sandblasted everything, painted it all and put it back together. I learned all the primitive ways of working on cars when you don’t have the money to do things the right way. I took welding classes at the local vocational school and learned everything else by trial, error (most often), HotRod / Car Craft / LowRider magazine, and of course my dad.
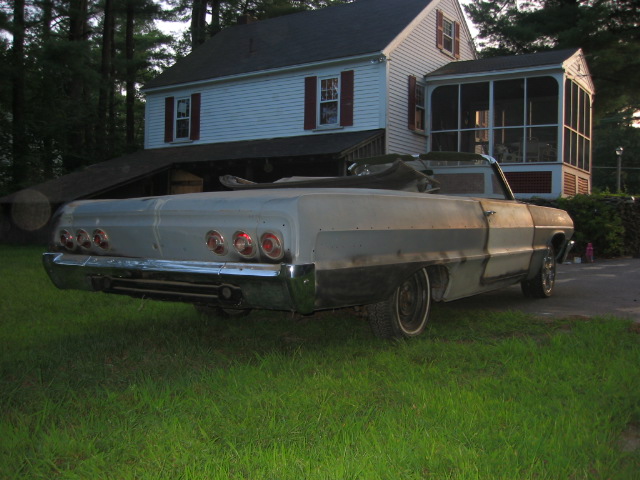
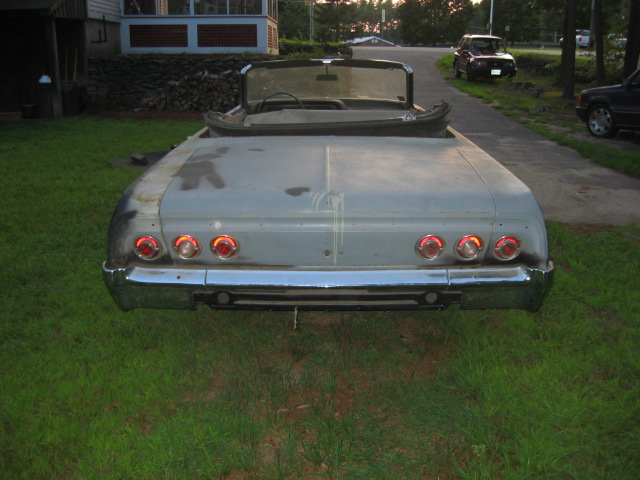
By 1999, I had rebuilt the chassis, fixed most of the floors, and shot a bunch of various color primers at the body as I fixed dings, dents, and holes. I then installed air ride suspension because hydraulic suspension would have required me to “plate” the frame with tons of extra metal, and that seemed like work that I didn’t want to do. These photos were just after I installed air ride suspension.  Yes, air ride suspension was far more important than making it mechanically safe at the time. It looked rad.
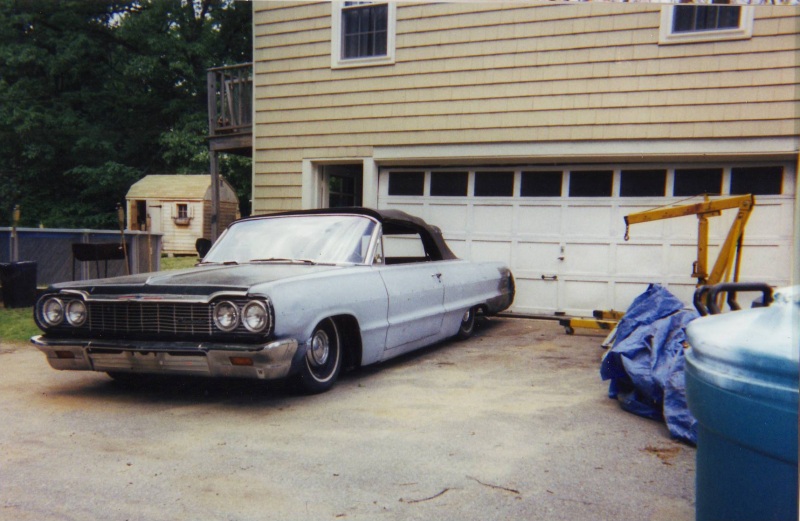
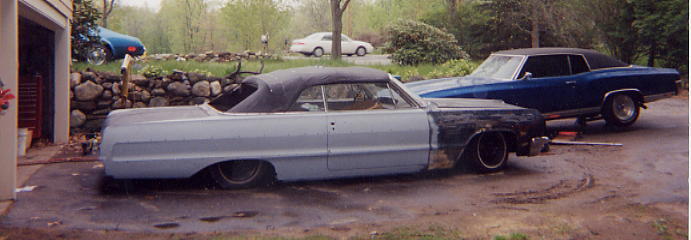
Maybe you’ll see a recurring theme here of me being broke as a joke.  Well, doing a restoration on a $0 budget meant that I couldn’t afford rust repair panels. I had to make them myself from flat metal, which I got for free from a friend. I replaced large sections of the trunk and interior floor pans with new metal, often formed over my knee or stretched around the base of my engine hoist, along with the assistance of my ball peened hammer and vise. Some of these pieces came out 100% factory looking, others were downright embarrassing. This process was horrible at the time, but it forced me to learn a lot about shaping metal. Slowly but surely, every night, and every weekend (when I wasn’t working, trying to survive high school, or chasing girls) I would spend my time wrenching away on my dream car, hoping to drive it to the junior prom. When the car wasn’t ready for the junior prom, that plan evolved into the senior prom, then college graduation, and before I knew it, years had passed.
I had bought my own house in 2004, and it didn’t have a garage. That was stupid. I know. Anyway… my dream Impala was now living inside a car-tent, with a gravel floor. Oddly, this habitat was not much different than the carriage house it was in when I first saw it years earlier. While a car-tent was certainly better than having no protection at all, it also was like a rain forest inside.  During the spring months, it would rain inside my tent and rust metal faster than you could clean it. This meant that while I was still making progress on my dream car, I was watching my work erode just as quickly. Nevertheless, slow progress was made.
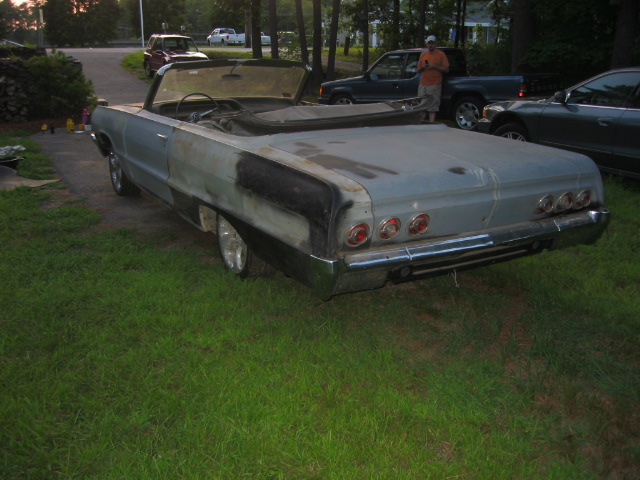
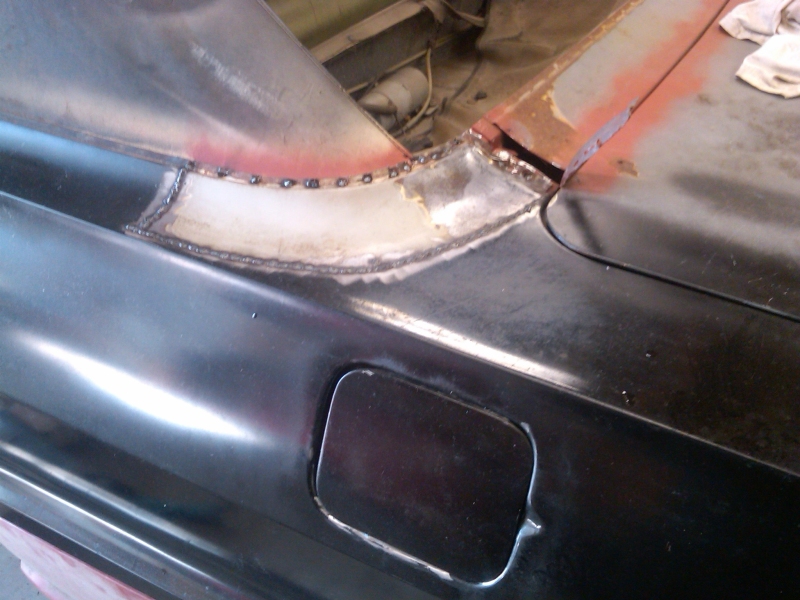
The left rear quarter panel on the car had been in an accident decades earlier, and never repaired. This sped up the rust in surrounding areas, and ruined metal that would have been okay otherwise. Early on in my “restoration”, probably when I was about 17 years old, I corrected this body damage by cutting out the creased section and replacing it with new metal.  It was never quite right and I hated the work that I had done. It was truly horrible.  The right way to fix this problem was to replace the entire driver side quarter panel.  Before doing that though, there was work to be done.
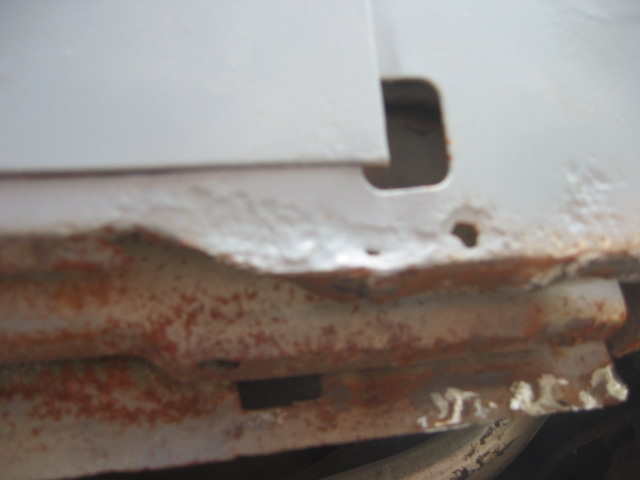
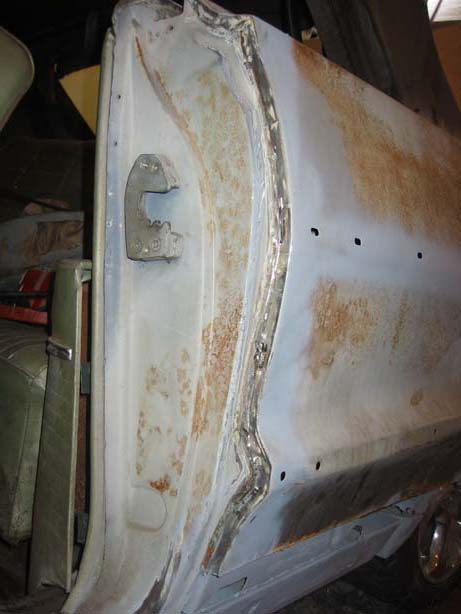
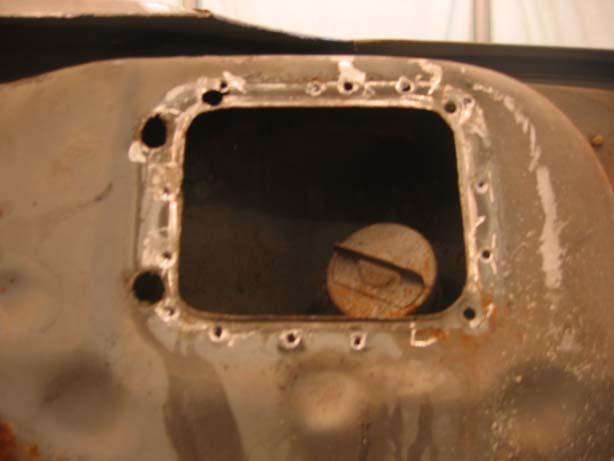
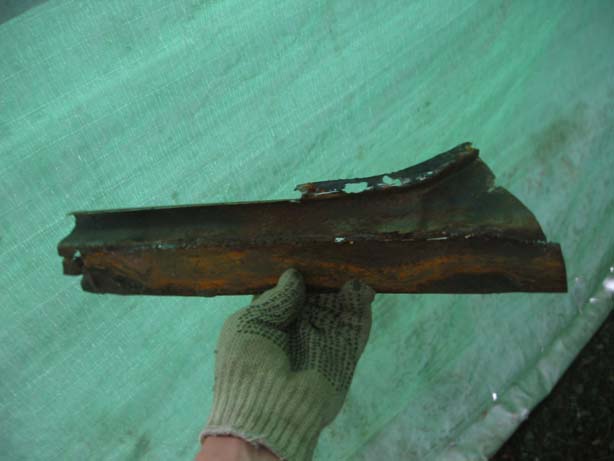
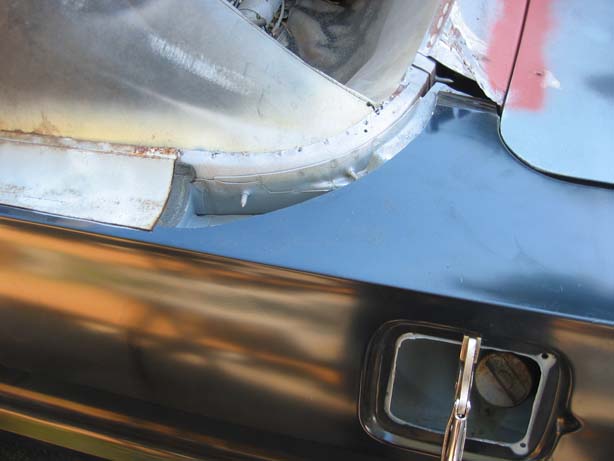
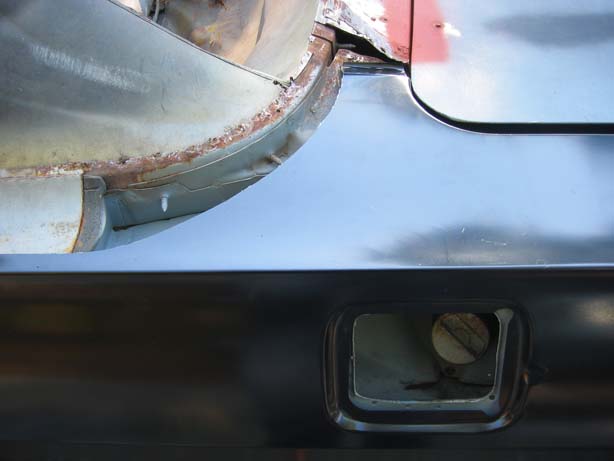
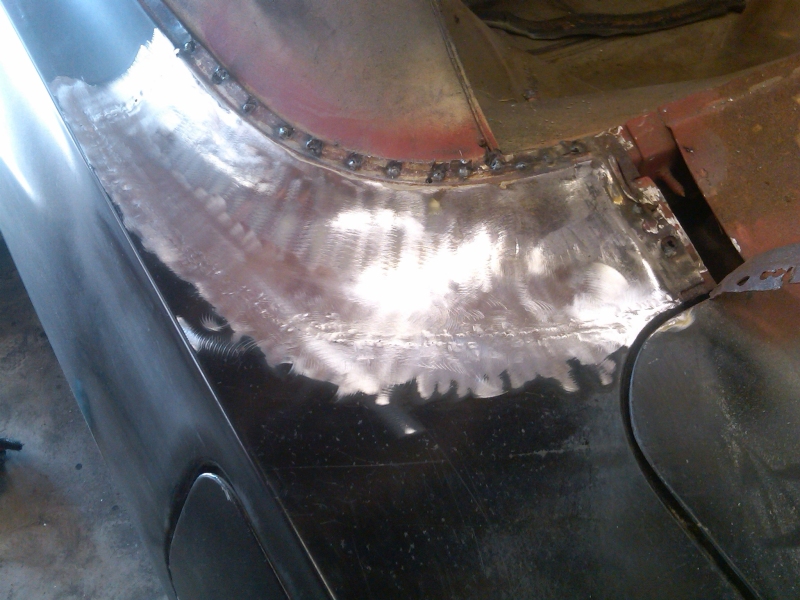
In the picture below, you can see (from the inside of the trunk) where I repaired the quarter panel in ~1999. I overlapped the metal, and generally did a piss-poor job with the repair. It haunted me from the moment it was complete, and I promised myself to never overlap metal again.
This brings us to August 2007.


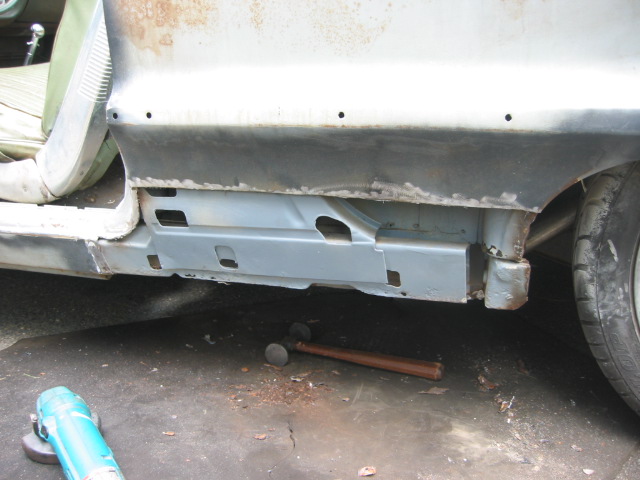
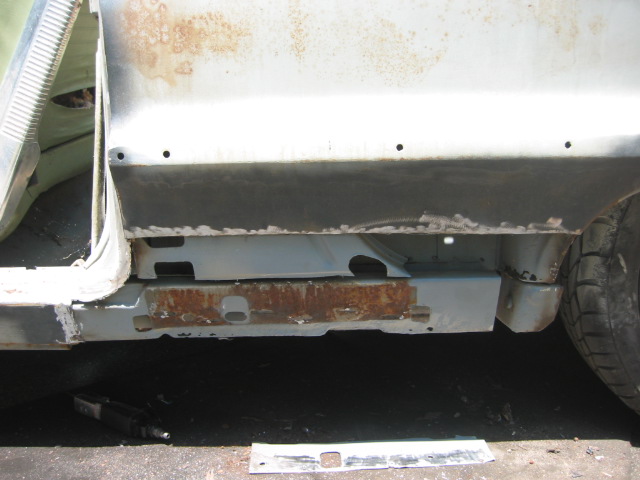
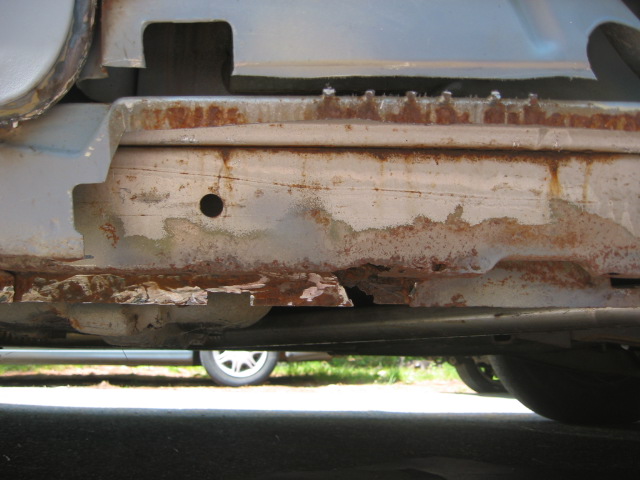
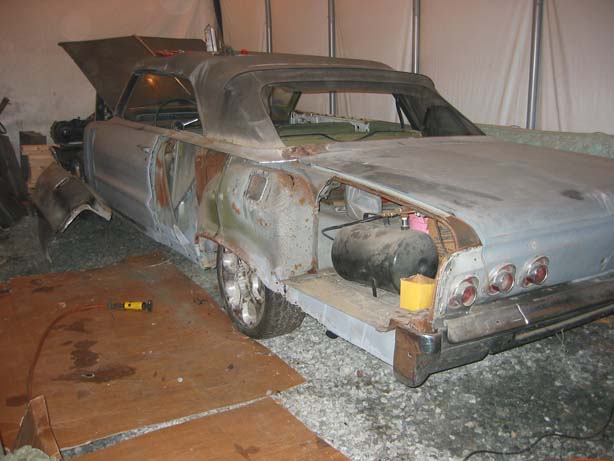
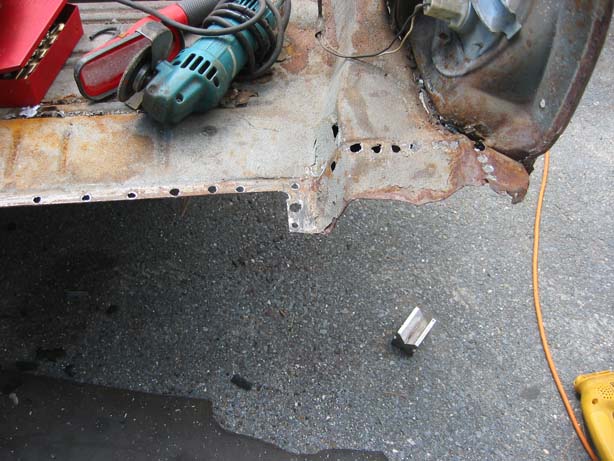
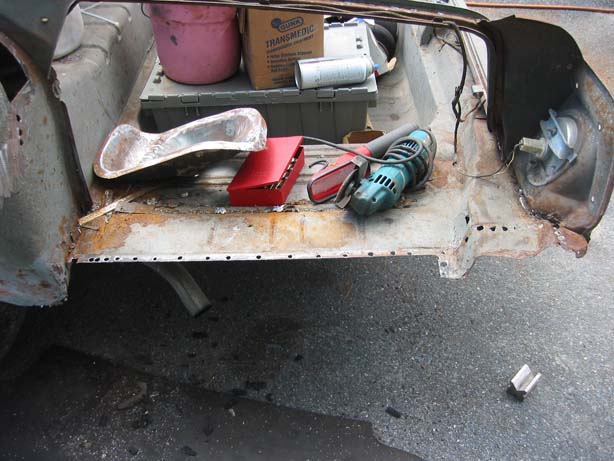
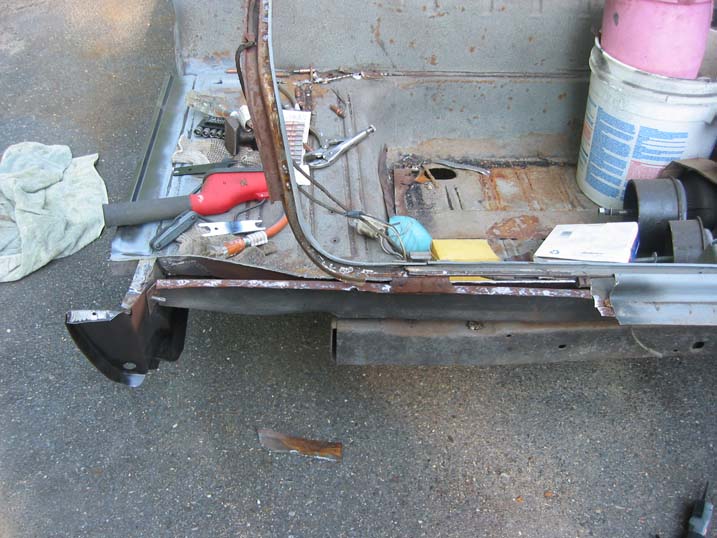
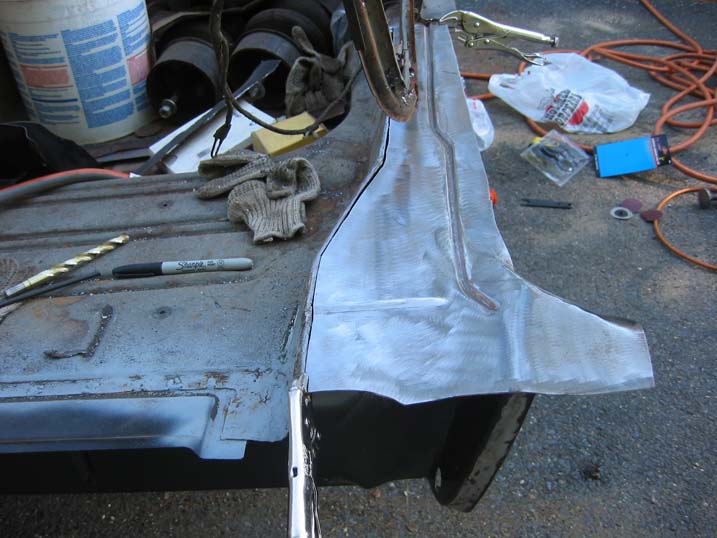
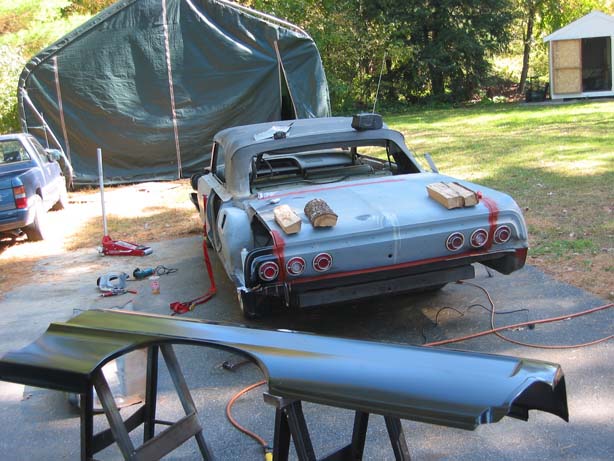
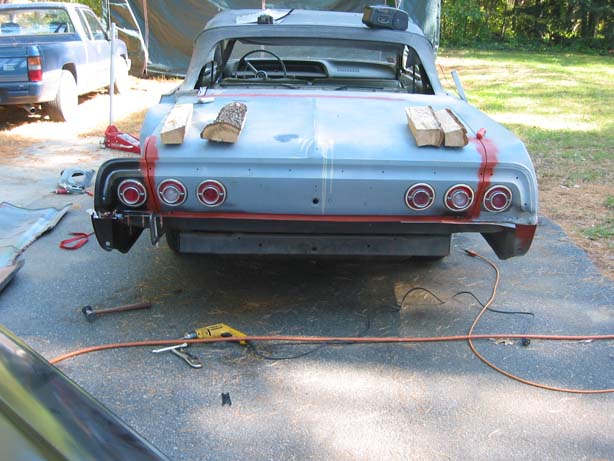
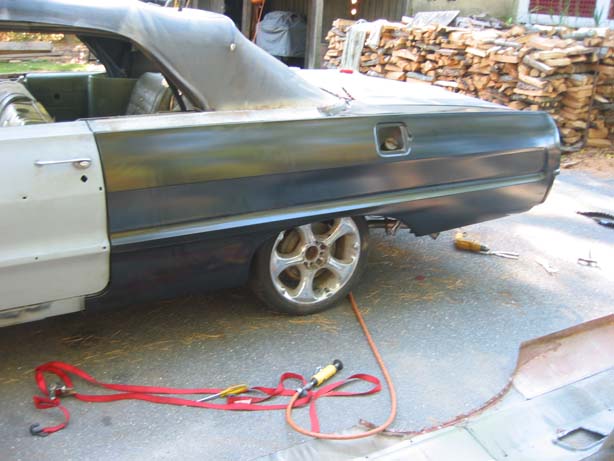
Before replacing the quarter panel in its entirety, I wanted to do some other structural work in the rocker panel area, primarily the driver side rocker panel, because it was heavily rotted. Years earlier I sandblasted the whole area, and soaked it in primer to slow the rust, so although it looks semi-okay in the upcoming pictures, I assure you that the metal was swiss-cheese. I began by surgically removing the rear most section of the outer rocker panel, in front of the rear wheel. I had replaced that metal years earlier and did a terrible job at it, and I had ignored the rotted inner structure while doing so. What a jerk I was back then…  Anyway this section of the car is massively complex because so many body panels converge here. I suspect that is why the cars rot out here as well.  As expected, all of the metal pieces needed repair in some manner, which was an incredible time suck because I made all the replacement pieces myself.
It’s now July 2008
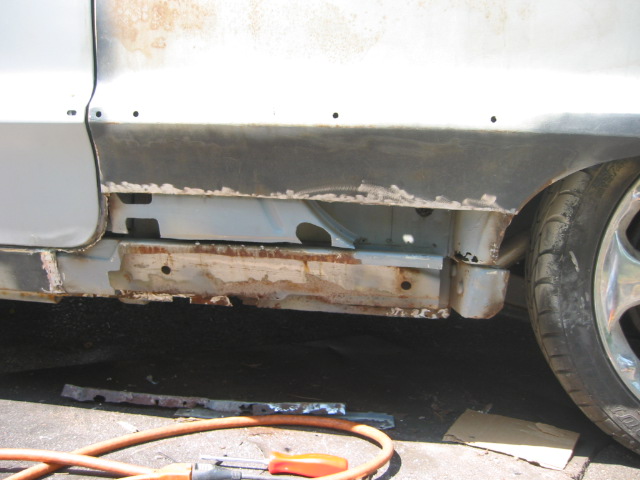
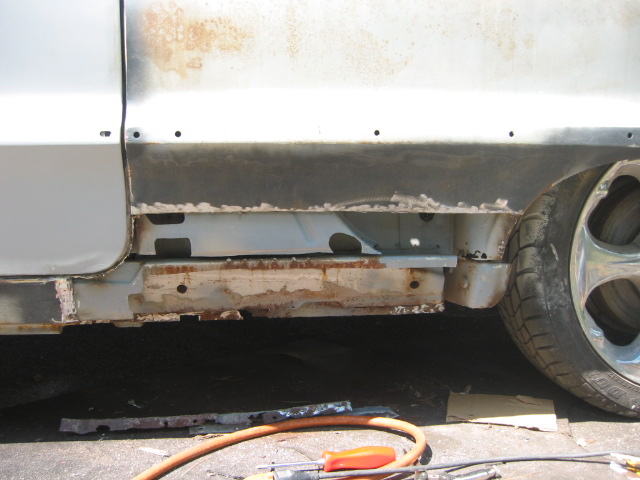
Outer rocker panel (lower quarter) removed.

Outer wheel house rotted, along with the piece under it.
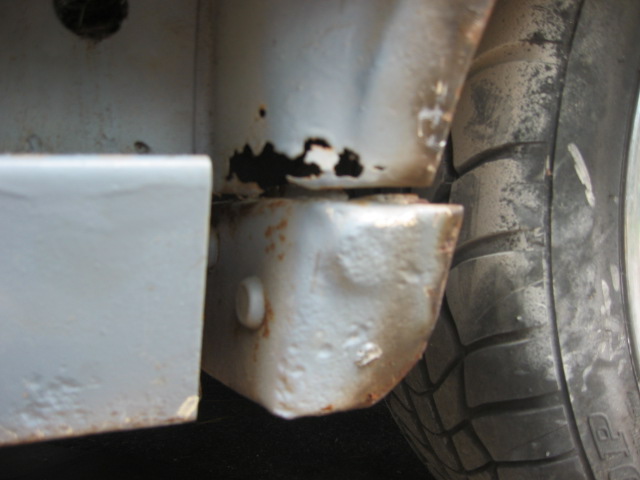
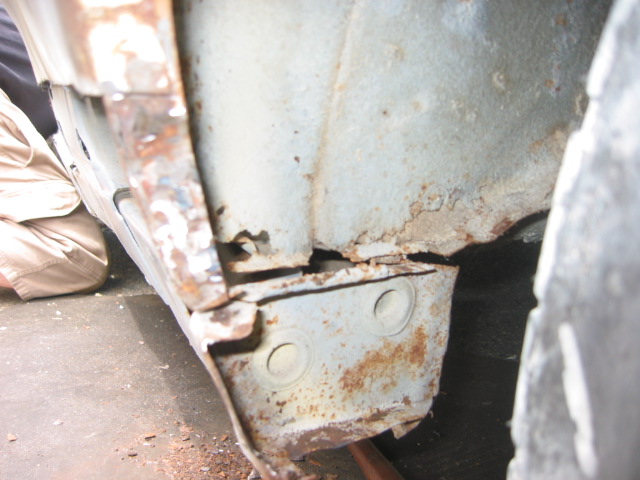
Here you can see some of the holes in the inner structure. Â That is unacceptable.
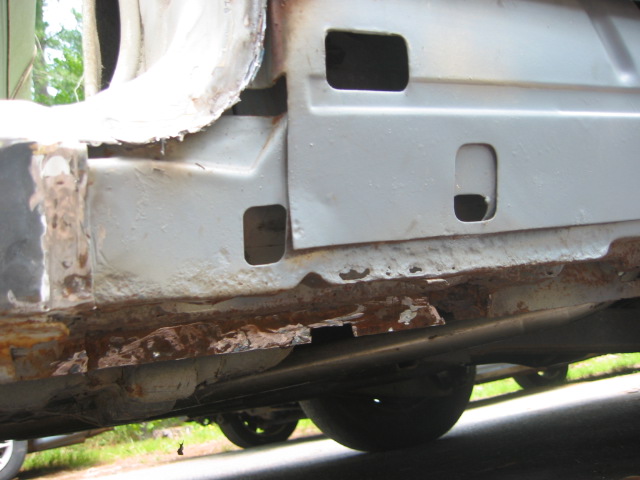
This picture is quite blurry, but you can see the deepest panels are rotted.
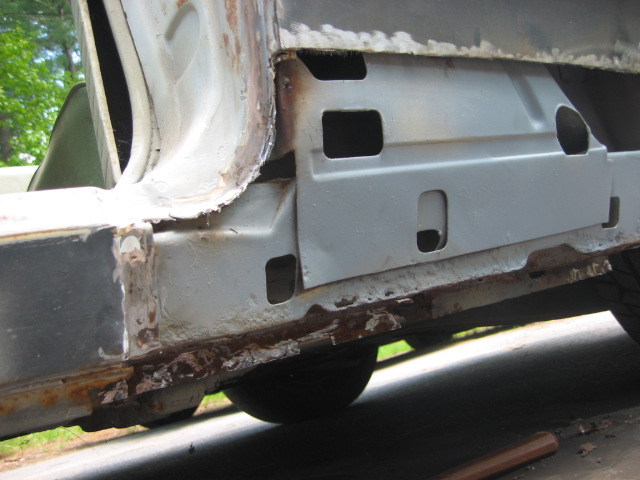
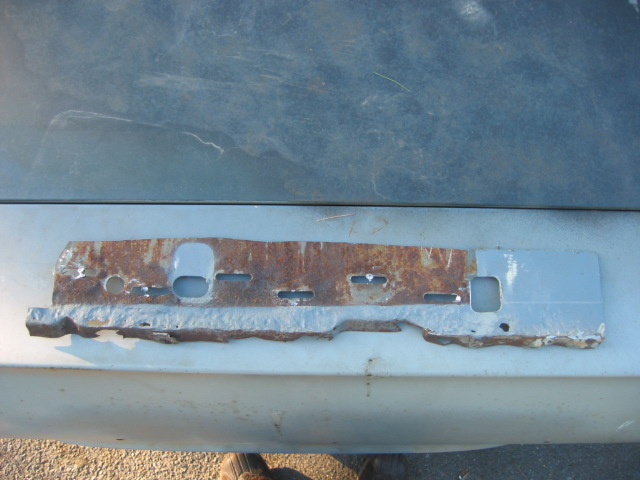
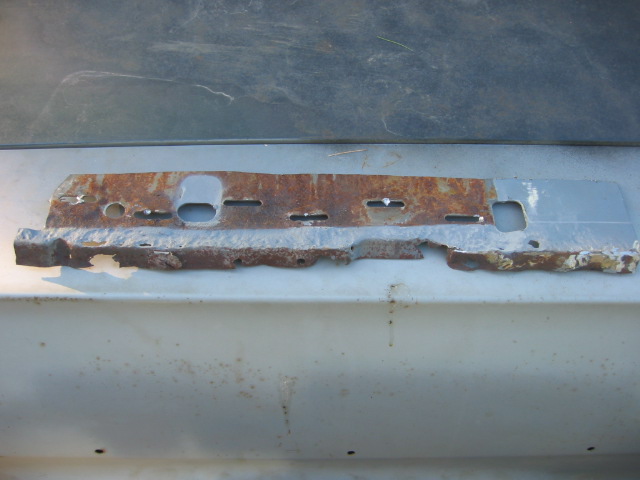
Layer number 1 removed
Layer number 2 removed
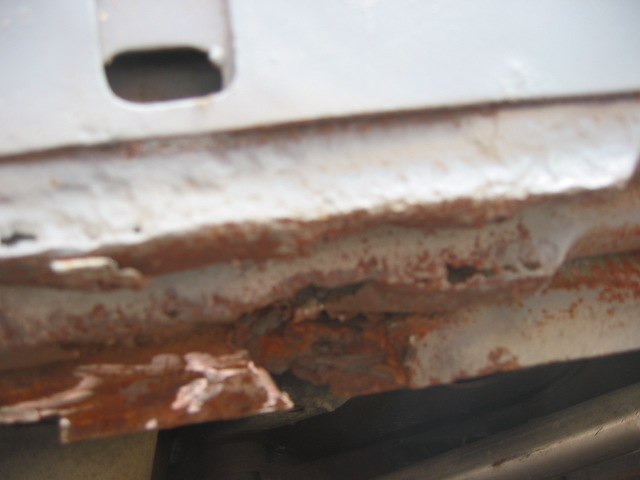
This is a closer look at layer number 3. You can see the bottom is rotted, so is the metal behind it, and the floor support behind that. Â Rot is never ending.
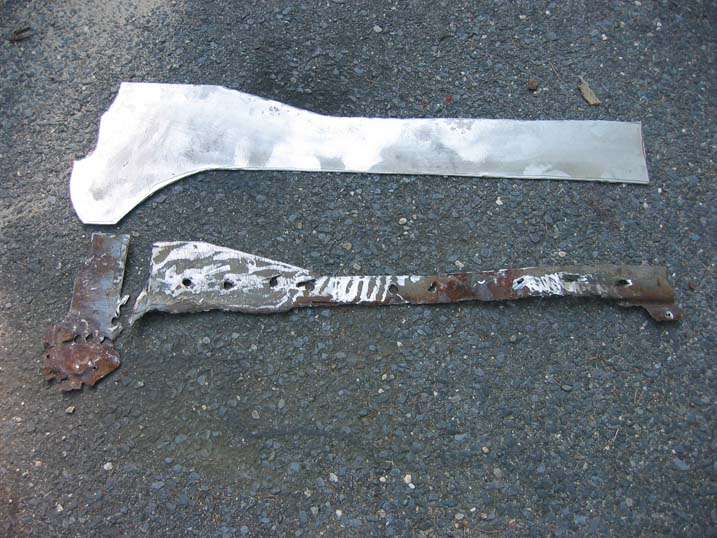
This is layer number 2 cut off of the car. Pretty ugly.
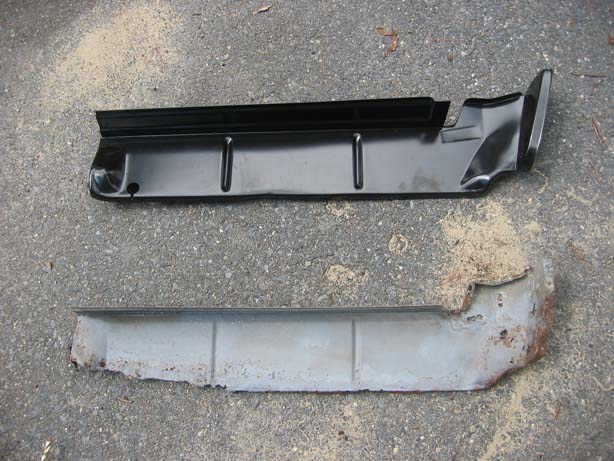
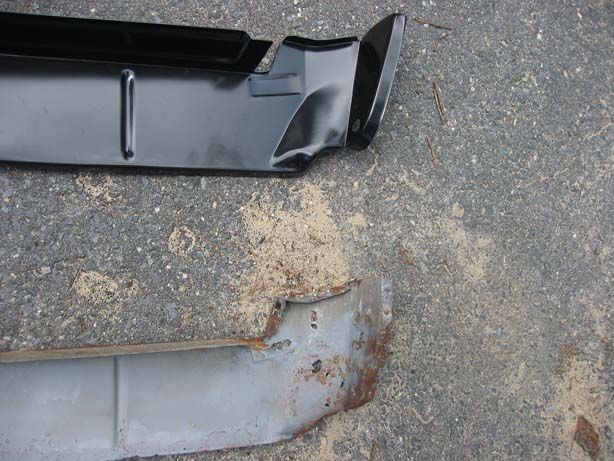
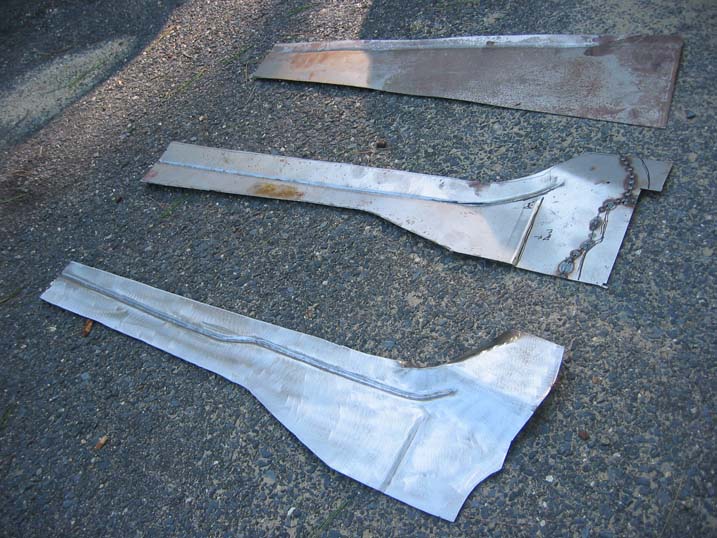
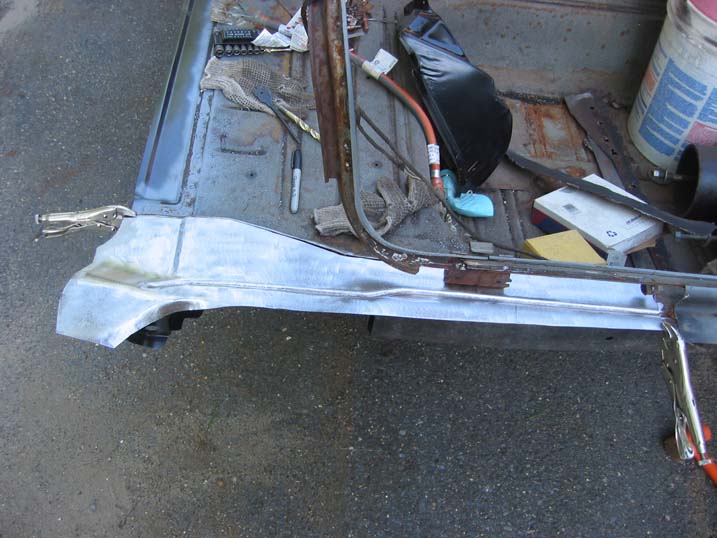
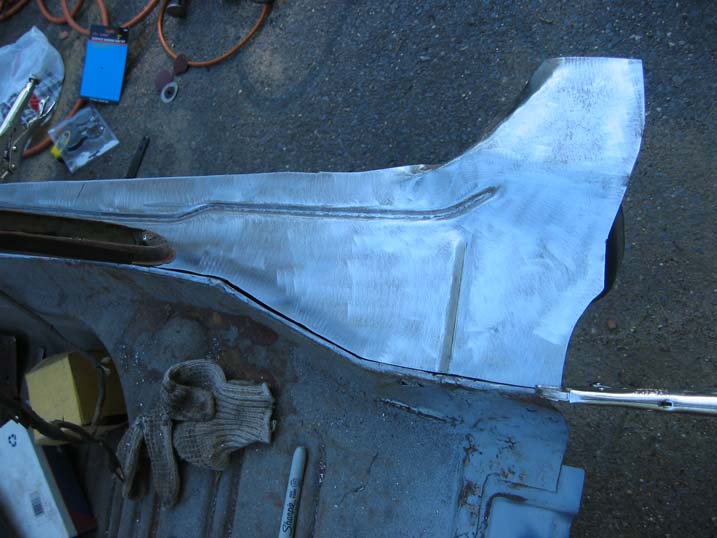
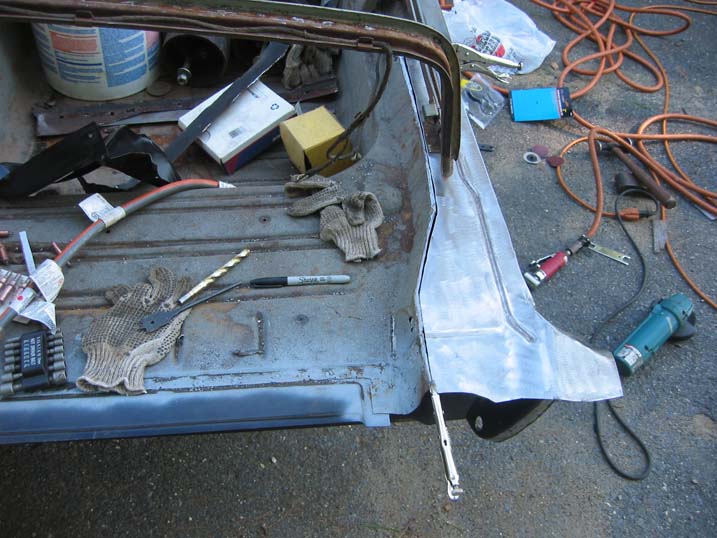
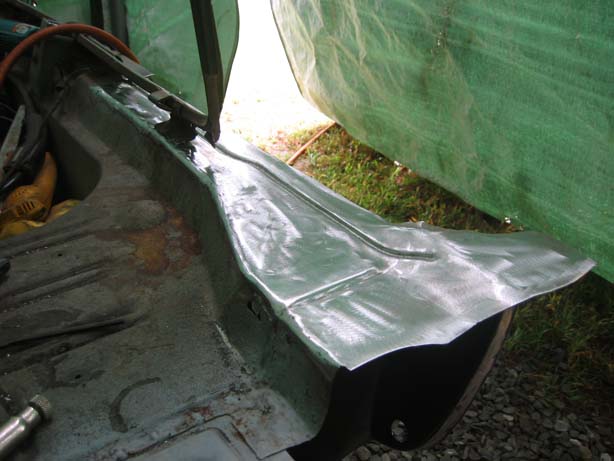
At the time, these pieces could not be purchased as a reproduction part, so I ended up making replacement pieces out of flat steel to look exactly like the originals, and welded them all on. The deepest layer needing repair was the floor support itself, then the inner rocker panel, then a few mid-rocker panel structural supports (I assume because it is a convertible), and finally the outer rocker panel support. Once back together, the next step was to cut the quarter panel off and see what else needed repair.
Here is the quarter panel being separated from the tail light surround.
I drilled the spot welds that held the quarter panel to the outer wheel house.
Here is the front of the quarter panel being separated from the door jamb.
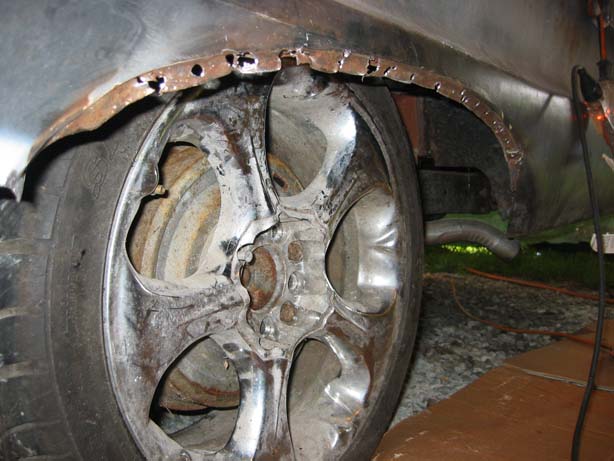
This is the wheel arch separated from the inner wheel well. Don’t mind the hideous wheels. They were temporary roller while I decided what to do with the factory wheels.
A few quarter panel shots after it was removed.

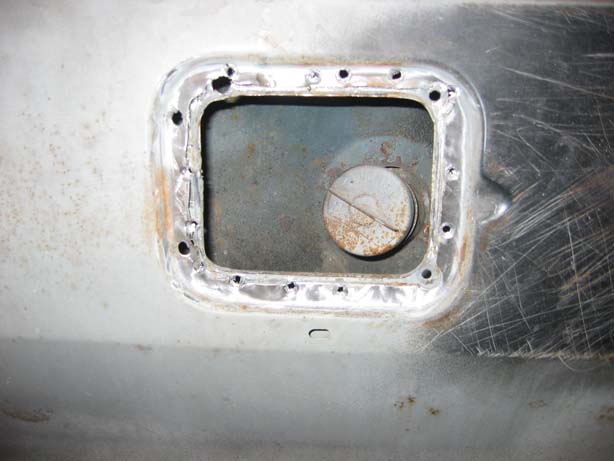
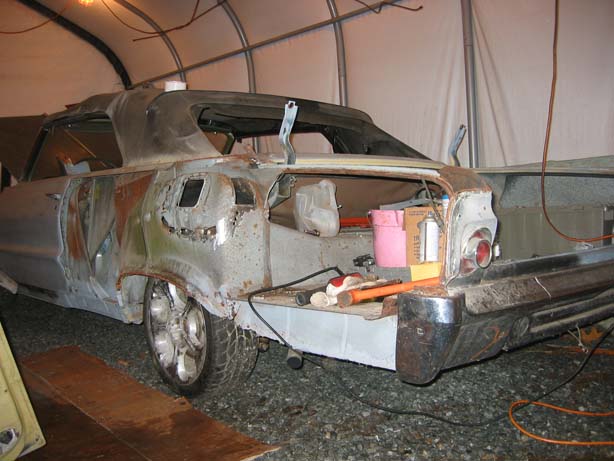
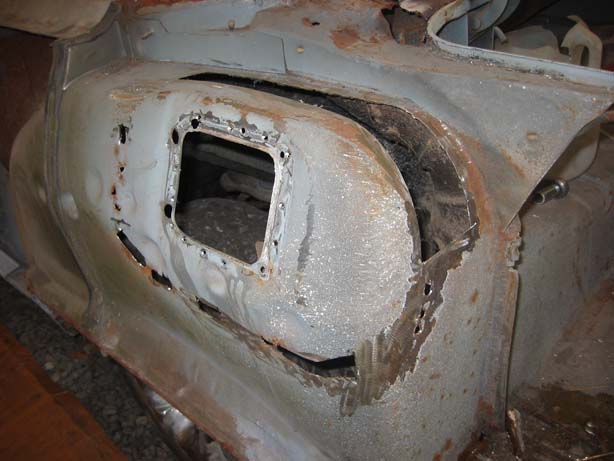
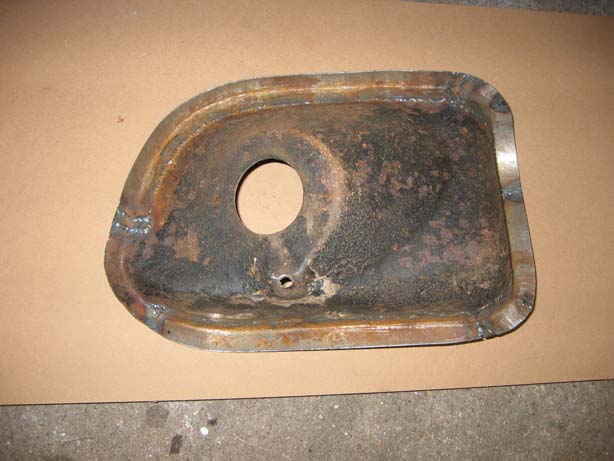
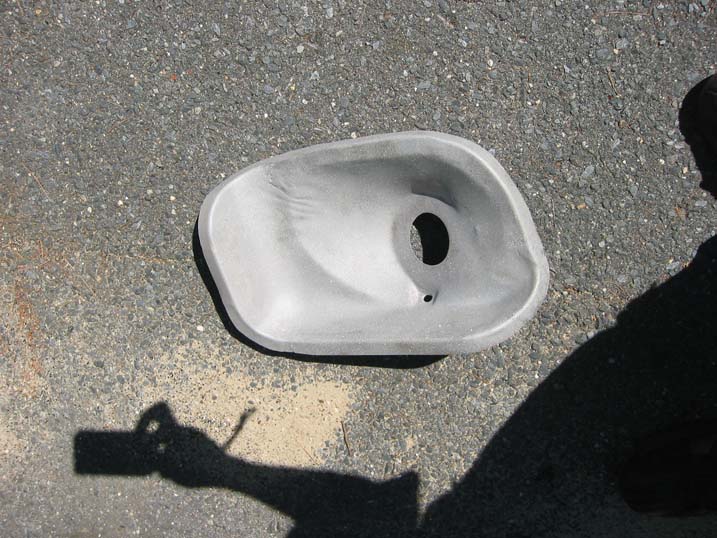
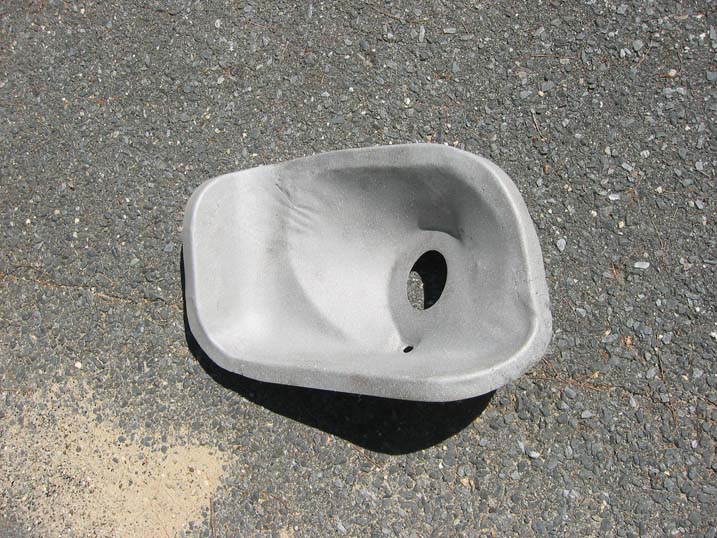
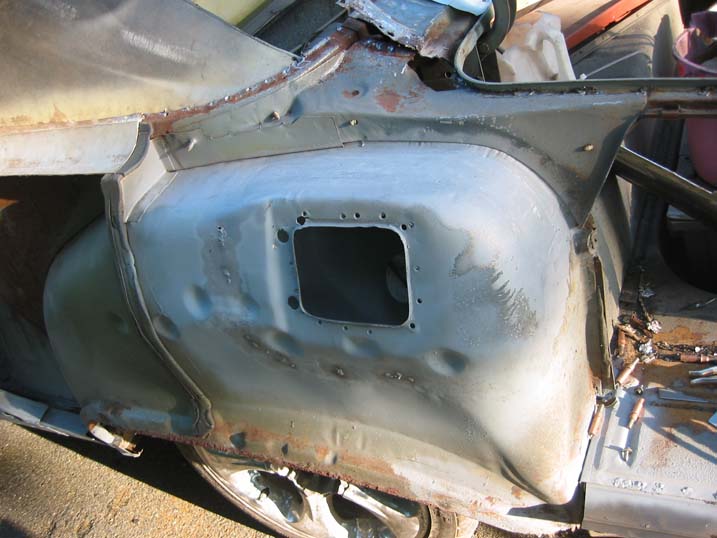
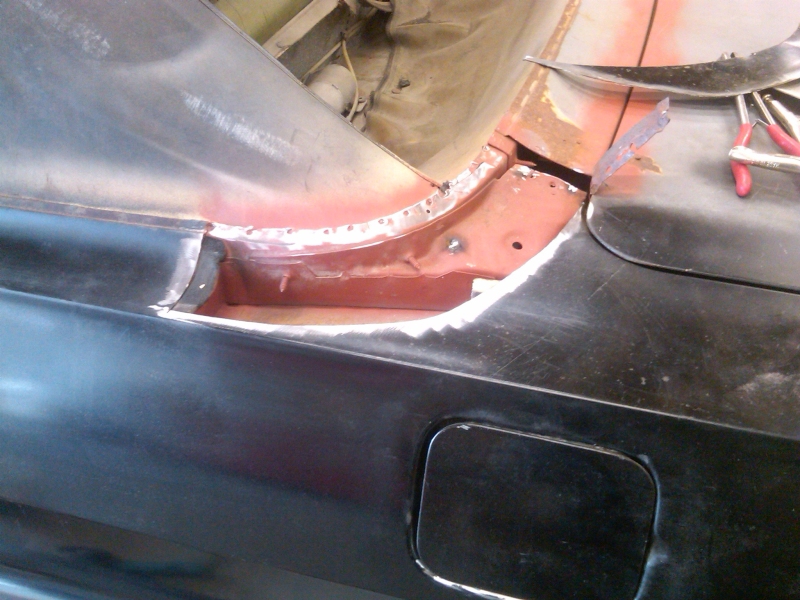
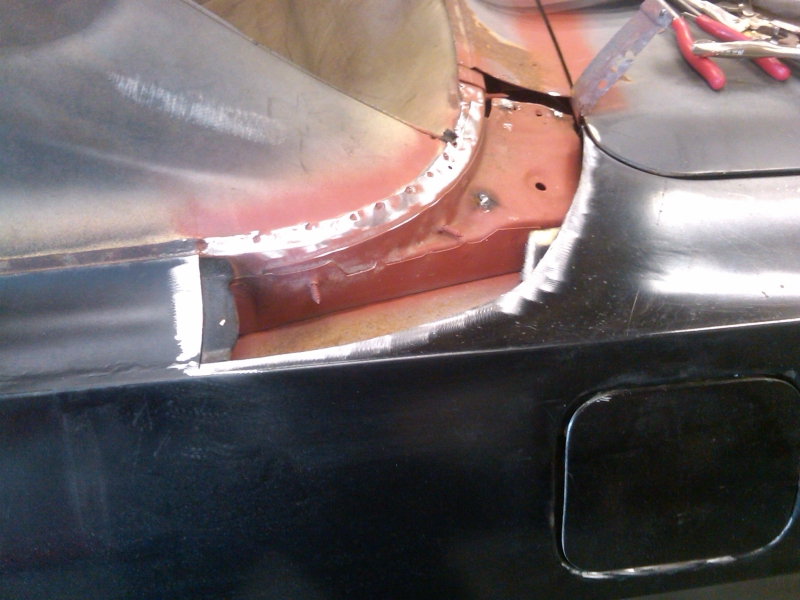
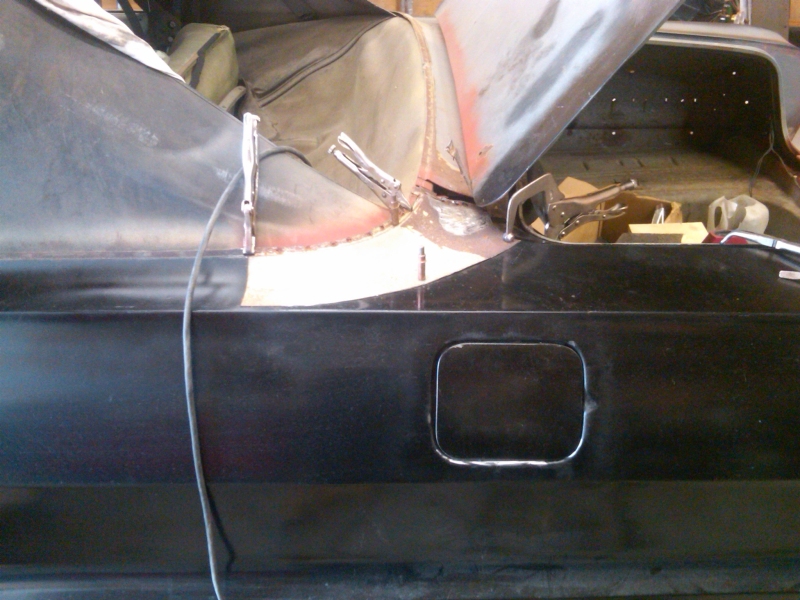
You can see in the next shots, the outer wheel house around where the gas door / filler pipe surround attaches, was totally rotted. The whole area needed to be rebuilt in a big way, and took an incredible amount of time to get right.
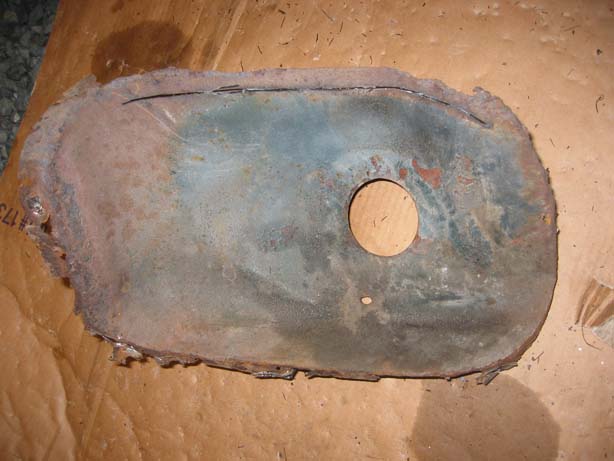
This is the trunk drop off. It was rotted like everything else.

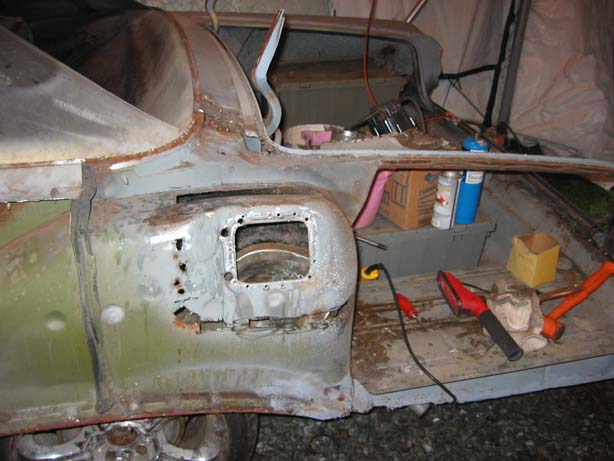
Here is the top view of the outer wheel house rot that I had no idea was there.


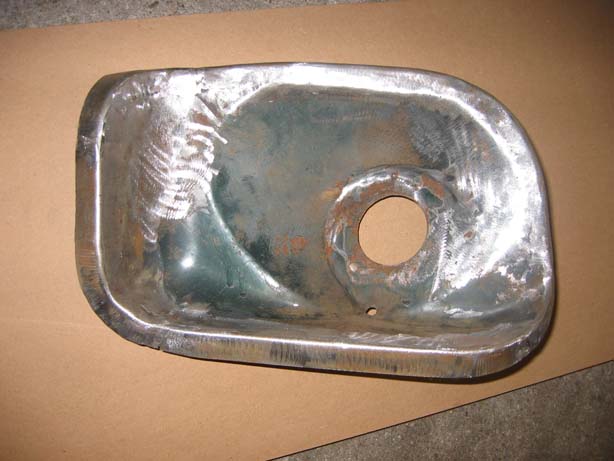
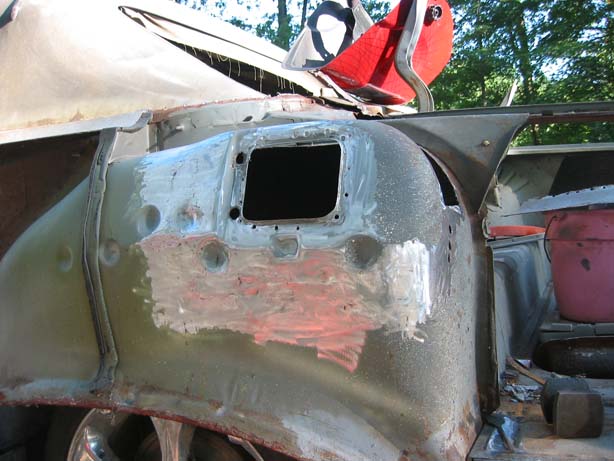
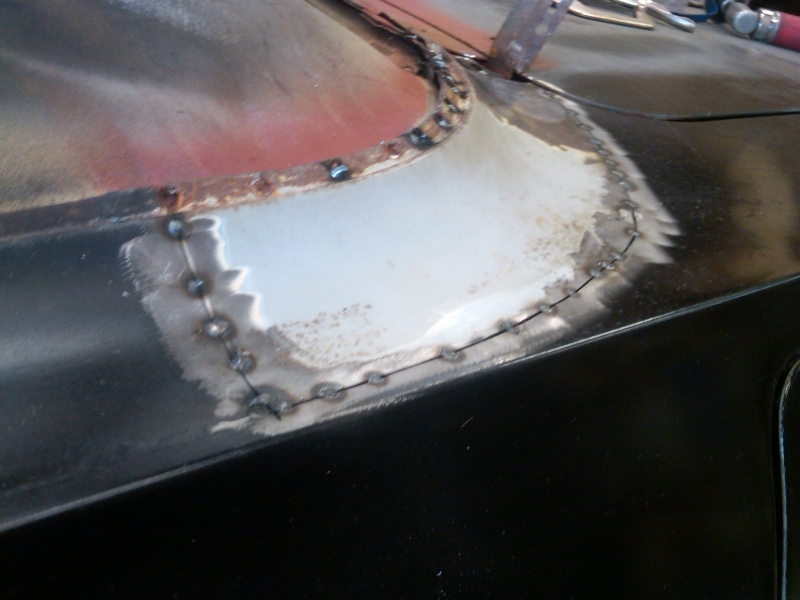
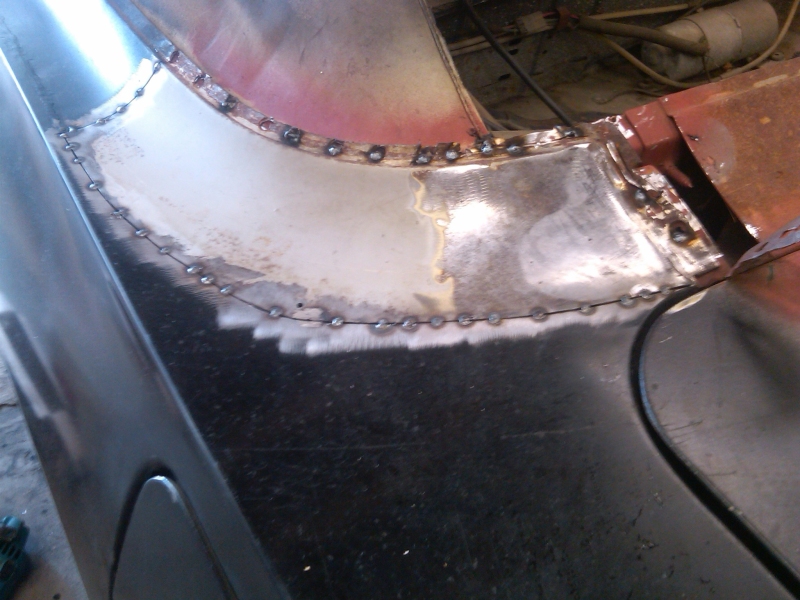
I began by cutting out the rotted areas, and shaping new metal to go in its place.
That wasn’t the worst of it though. The worst part was the metal behind it that lived inside he wheel well. Once detached from the wheel house itself, this is what it looked like.

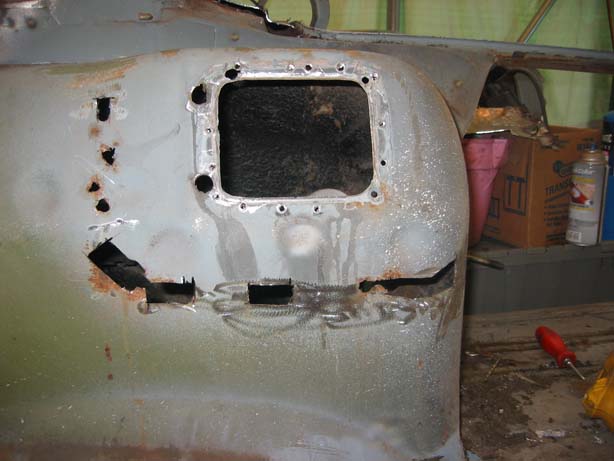
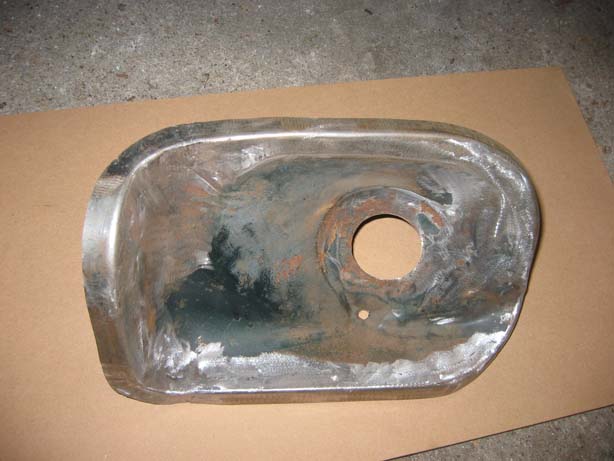
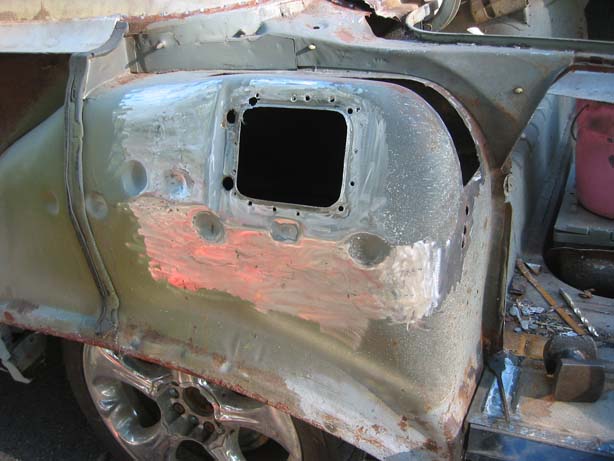
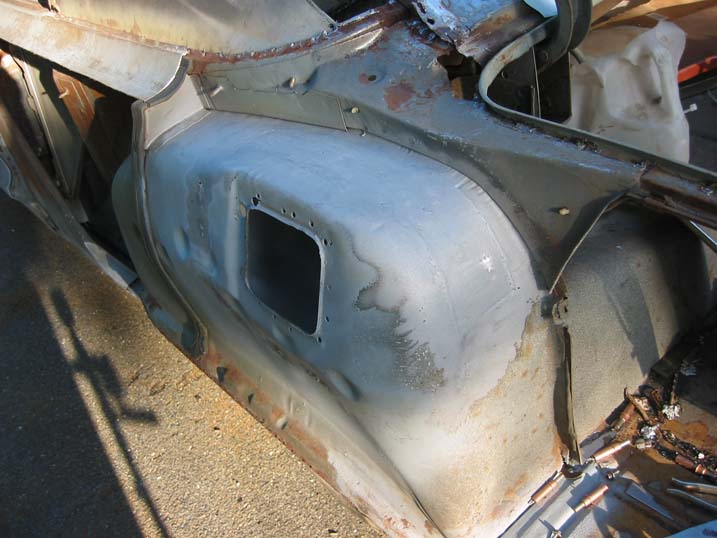
After some cutting, grinding, shaping, and welding, I ended up with this…
Here on the back side, you can see where I cut and welded in the metal.
Here is the front side. People will never see this part tucked up in the rear wheel well, but I couldn’t live with myself if I left it rusty.
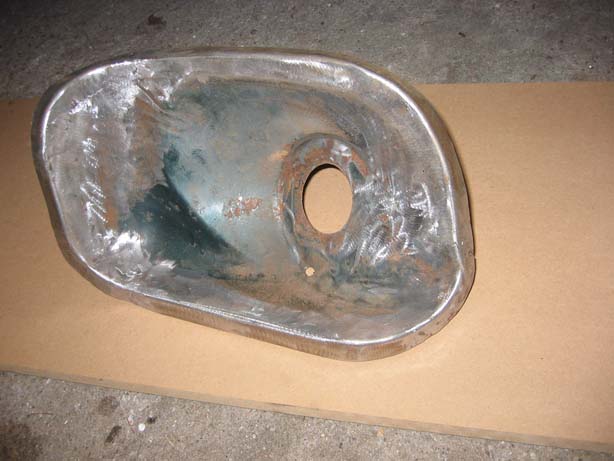
I then sandblasted it front and back to make it look really nice before I welded it back on the car.

Here is the outer wheel house coming back together again.
August 2008
At the same time, I was working on replacing the trunk drop off. Â My original was rotted, and new ones were really cheap, so I bought a reproduction piece! Unfortunately, it arrived dented on the bottom, which I was a bit unimpressed by.
Tada!
Next up was the trunk floor, drivers rear tail light bezel, and the tail panel that the trunk latched to. Â It took me several tries to get the floor section built right, but I eventually nailed it.
[
September 2008
After dozens of hours of shaping and trimming, I welded it on.
This is the original tail panel…er… a piece of it. Notice I’m still working outdoors and inside a car tent. Â Man, that was not easy.
As you can imagine, I removed the factory tailpan and found…..you guessed it! MORE RUST! So I proceeded to chop out the giant rotted area, made a patch piece, and rolled a fancy new bead in it to make it all “correct” looking. I then welded it all in and ground it smooth. Apparently I didn’t take any pictures of when it was rotted and cut out. So, you will be forced to use your imagination.

You are probably wondering why the metal sticks out at a 90 degree angle. Well, that is because I wanted to install the tailpan before cutting that to the right shape. Since the original floor was missing, I would have no way of knowing what shape it was supposed to be without the tailpan on there. Ok more pics.

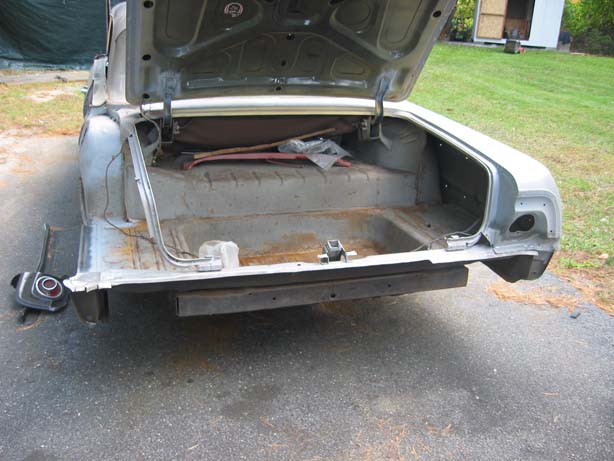
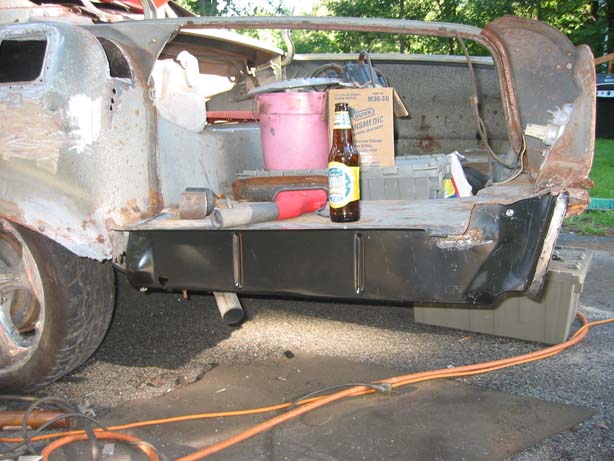
Here we have the tail pan installed. I drilled like 20+ holes in it and spot welded it all the way across so it looks juuuuust right. Sadly, the only primer I had around was bright friggin day-glow circus act orange, so on it went. I had a plan to blast the whole car with soda when I was done with the majority of the metal work, so orange primer didn’t bother me much.
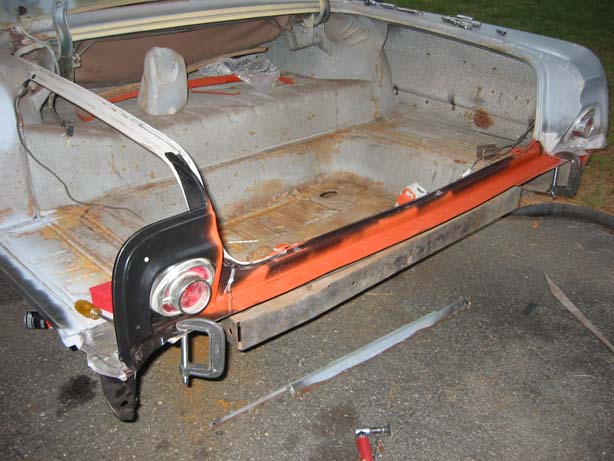
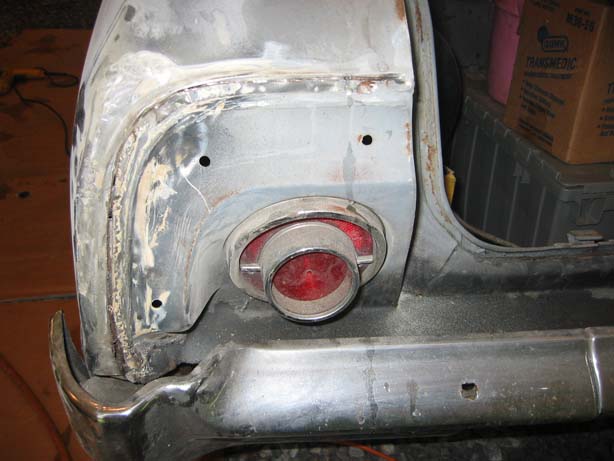
After the tailpan landed in a happy place I could finally start working on the new taillight surround piece. This is a challenge to say the least. The reason it is so challenging is because the trunk floor is no longer original, the tailpan is not original, and the taillight surround is an aftermarket piece. Thus, not easy to align properly. It is just being held in place with the c-clamp in these pictures, I still had a few hours of messing with it before I welded it in.
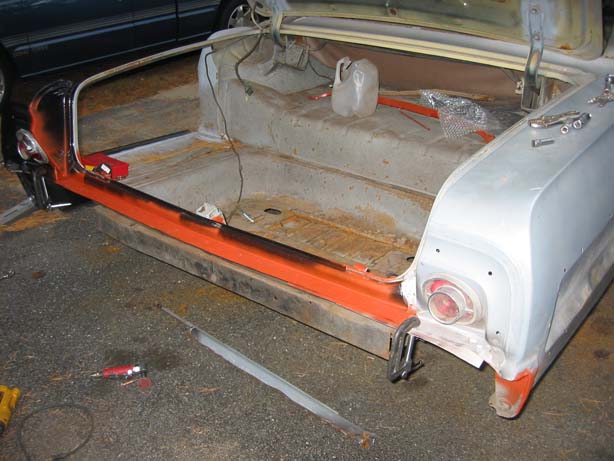
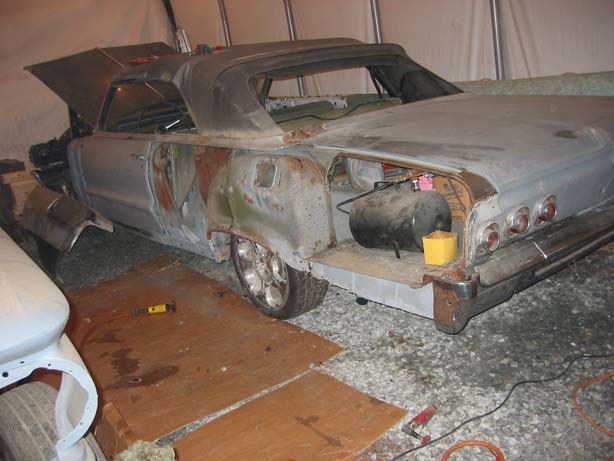
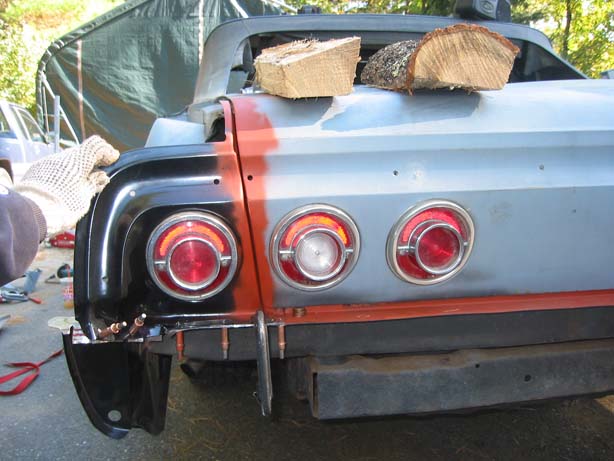
Here is the “motivation shot”. This made me think I was going in the right direction because it was starting to look like a car again. I couldn’t wait to start on that quarter panel!
Since the passenger side quarter panel and the rear cowl area are both untouched original areas, that is what I based the trunk lid location off of. Sadly, aligning a trunk lid is not easy to do. It took hours upon hours to get it right. There were many times when I had to stop, throw a few things, reevaluate my life, and then start over.
When I finally got the trunk lid on straight, I began messing with the drivers side tail light surround panel. I twisted and turned it until the gap between it and the trunk lid were even, and then made the body lines line up. This stuff is not very easy to do. In the end, I decided to use cleco’s to hold it together until I got the quarter panel all settled. So 6 or 7 cleco’s later, it was on. Welding would again come later.
October 2008
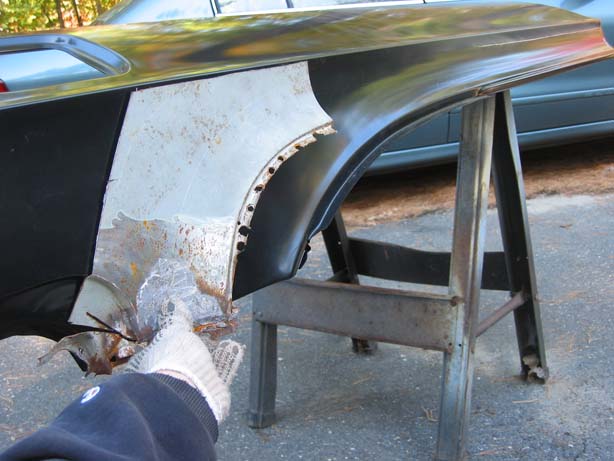
Then the quarter panel installing began. What you may not realize, is that the quarter panel for a 1964 Impala convertible is very different than a 2 door hardtop. The whole top area where it meets the roof is a different shape. This means I had to cut off the top of my brand new aftermarket quarter panel, and weld a section from my old quarter panel onto it. Fun times. I then spent the rest of the day putting the quarter on, and taking it off until everything fit right. By the end of the day, it still didn’t fit right. So, although much closer, the quarter panel was still not on the car. (Notice the stack of pennies holding the trunk lid at the right level, and logs to weigh down the lid.)
Hardtop vs. convertible quarter panel. Â It’s terrifying to hack up parts that you just spent a fortune on.

More logs.
Quarter panel cut, fitting had begun.
YIKES! That was some serious misalignment!
It looked like a car though! Â Amazing!

Yikes that alignment was really bad!

Eventually I got it to fit, but I had to cut a giant triangle up the length of the quarter panel next to the trunk lid to get the gap perfect. It was intense.
July 2011
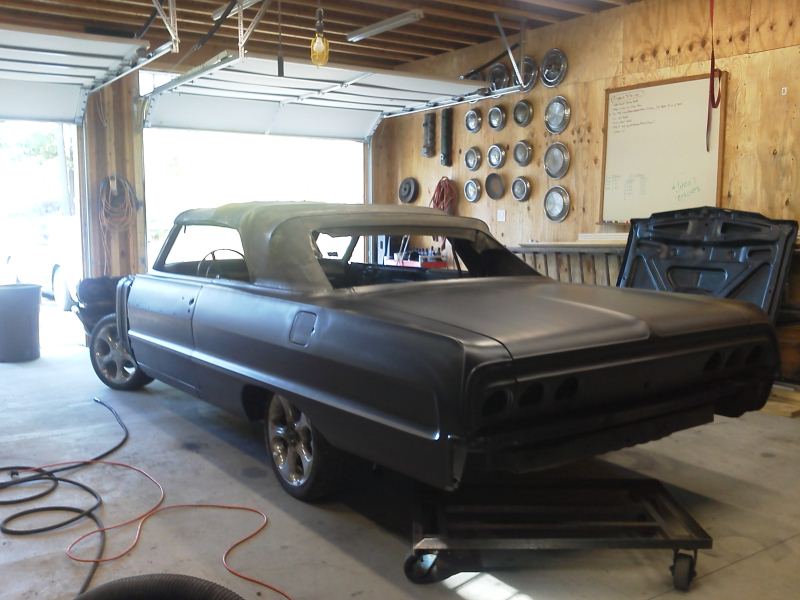
During the large time gap there I built myself a garage! Finally, no more wet car tent! Progress was about to be made. Maybe.
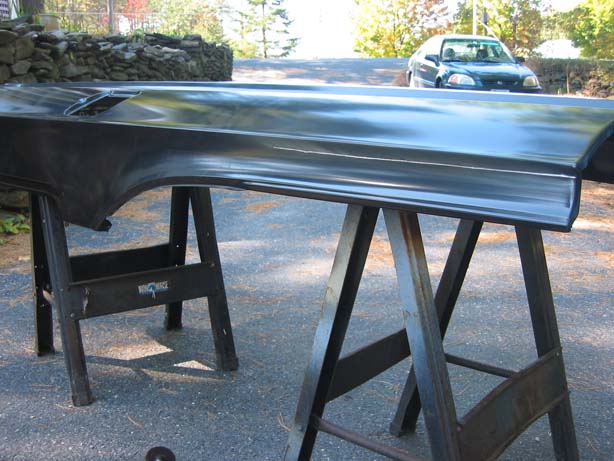
I had left off needing to install the convertible section onto my new quarter panel. I decided to do this after the rest of the panel was installed because I knew fitment would be easier.


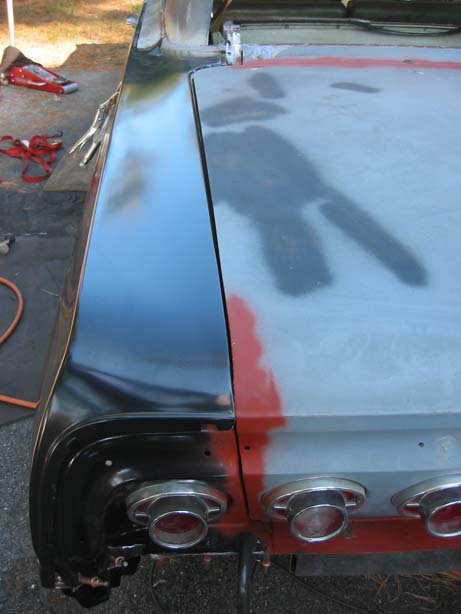
Shortly after I finished the metalwork on the quarter panel, I soda-blasted the entire exterior of the car and primed it with epoxy primer.
October/November 2011

Epoxy primer!

January 2012, and still on those horrible wheels. Not for long!


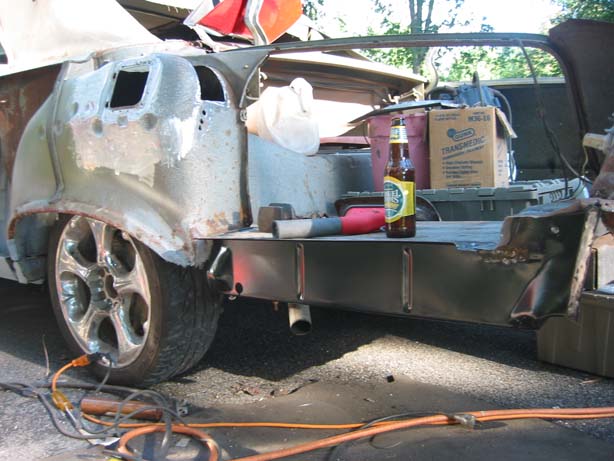
New wheels & tires installed. Â They are factory 14×6 (maybe 14×7?), and they clear disc brakes, and also accept dog dish hubcaps.
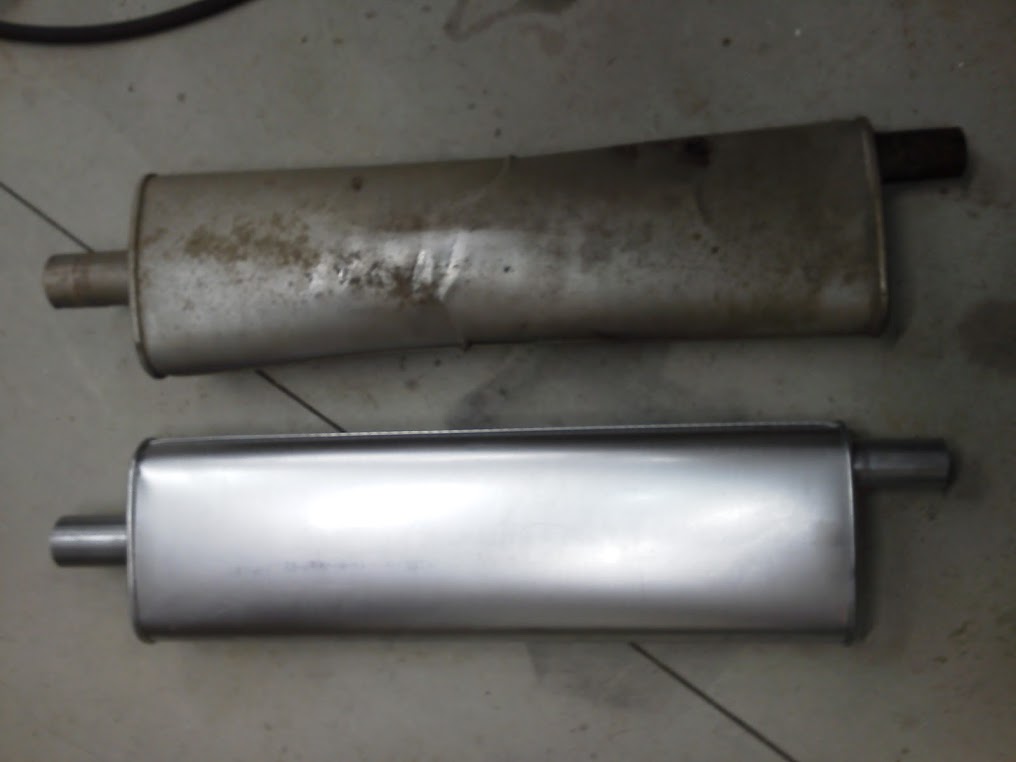
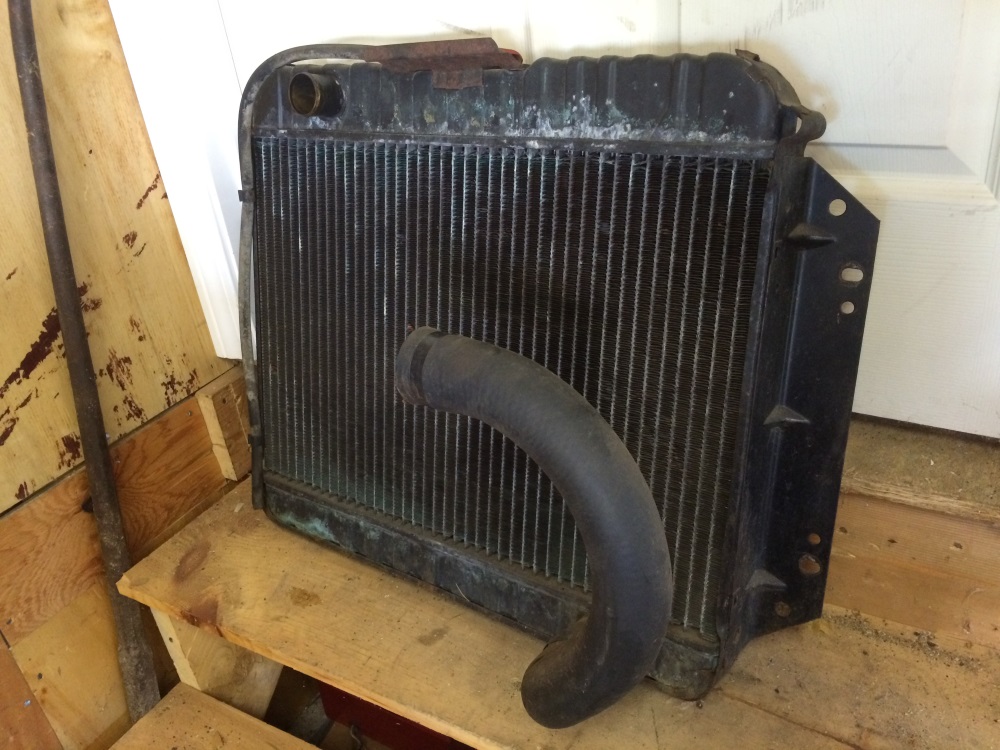
While getting the car to run right, I apparently filled the muffler with raw fuel, and ignited it. Â It turns out that mufflers will blow up when you do that. Here is a little muffler comparison. Old vs new. Keep in mind – the old one has about 14 years and 3 miles on it.
March 2013


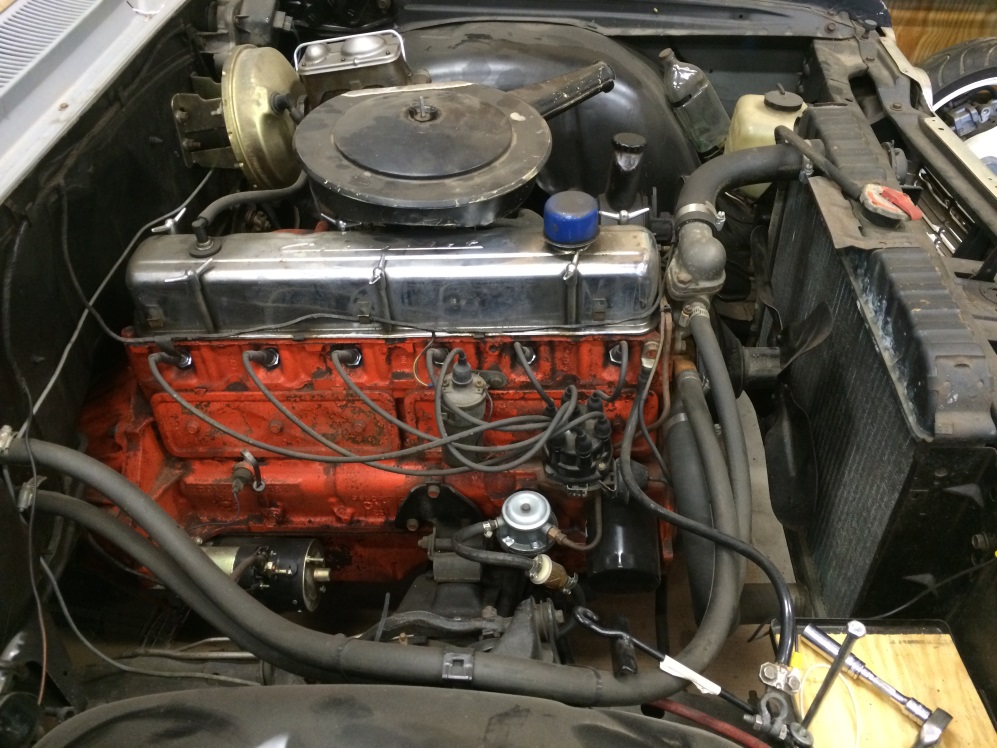
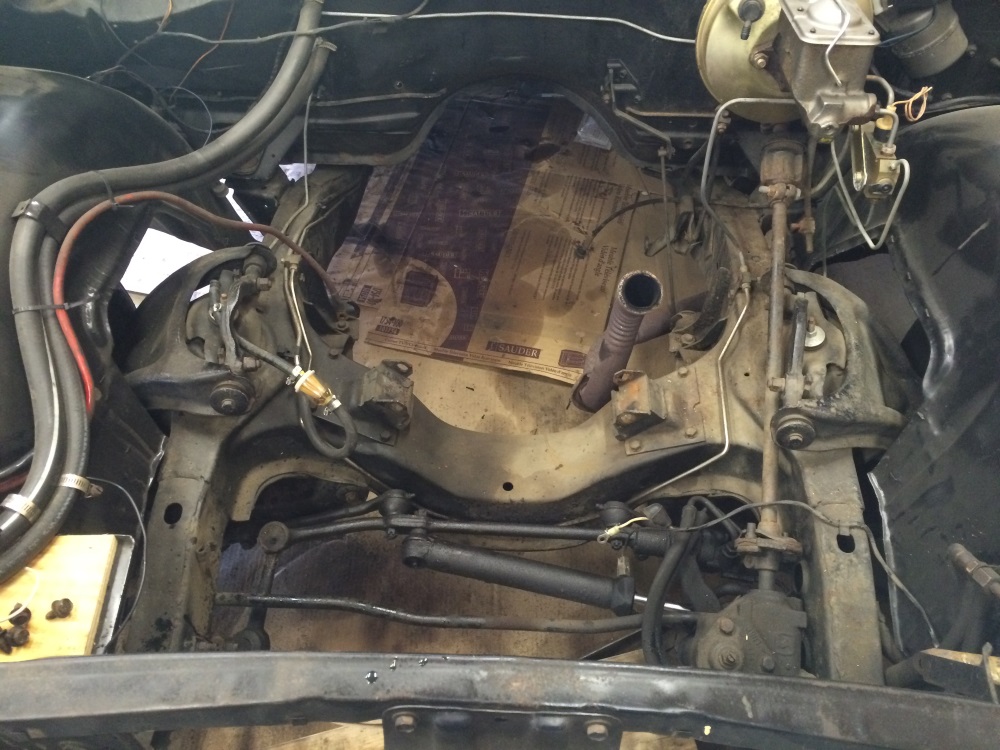
Years earlier and totally undocumented, I had added a disc brake kit to the front of the car. The problem with this was the master cylinder sat right where the air cleaner was supposed to. So, in the interest of doing a lot of work for very little gain, but keeping things sort of factory looking, here is what I did:

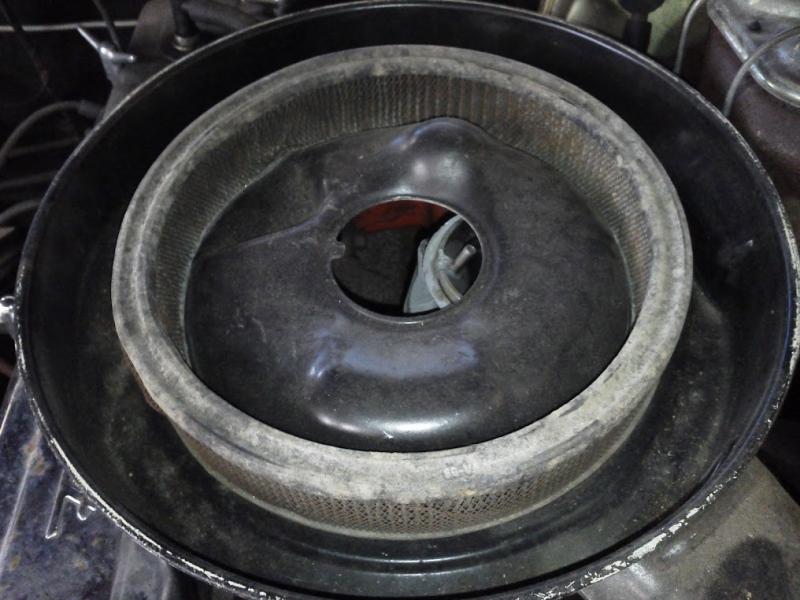

I did finish it, but apparently didt take pictures of the finished product. It was a quicky hack to get the car on the road, and I’m not proud of it. Â It worked great though.
April 2013
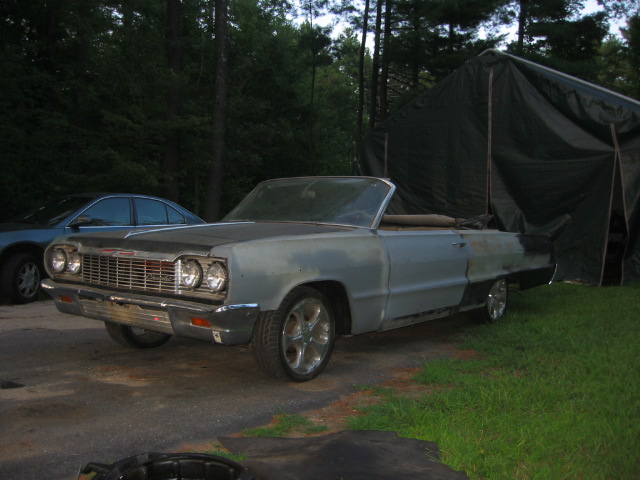
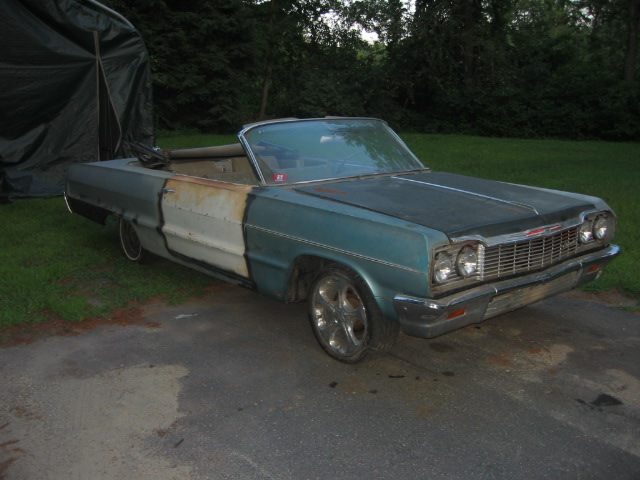
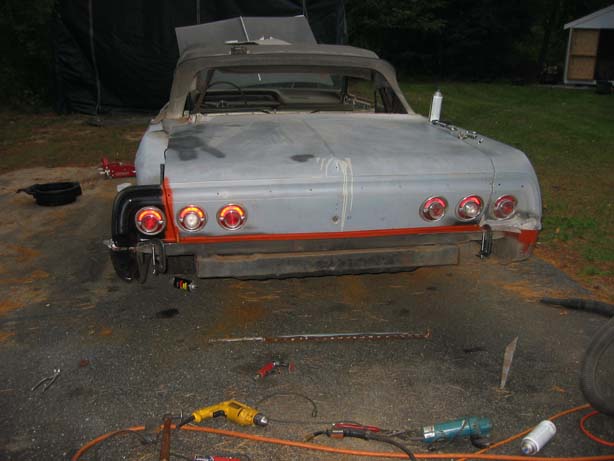
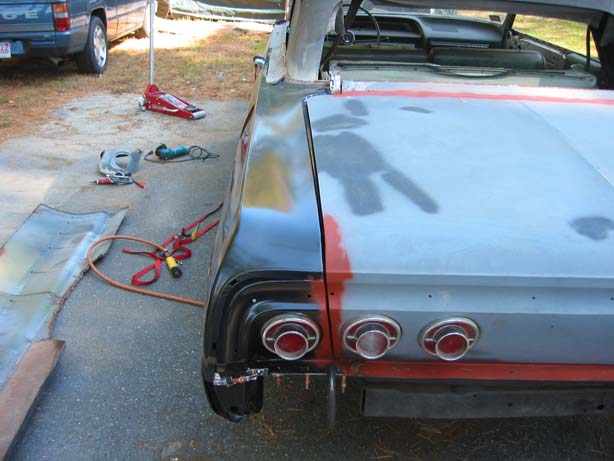
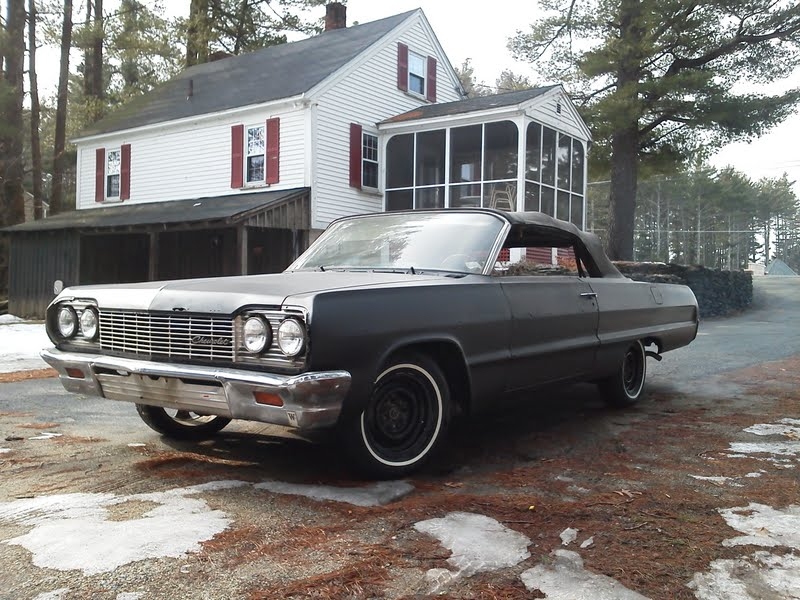
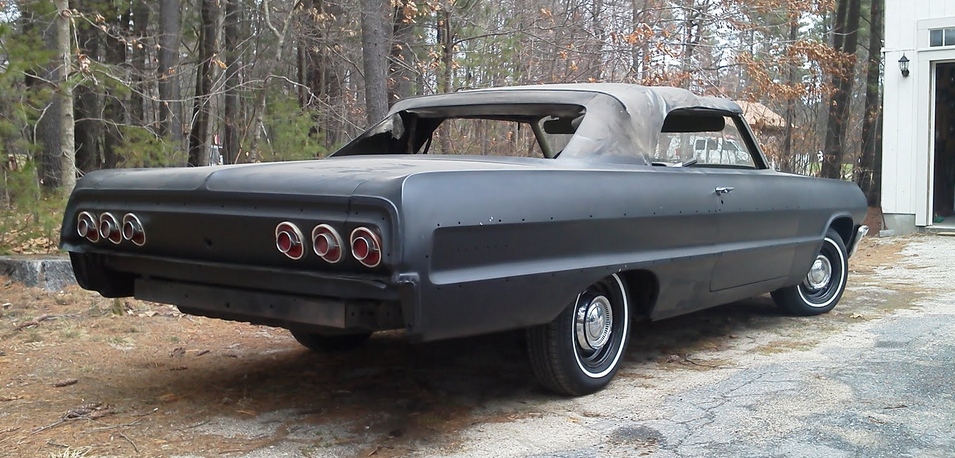
This is what the car looked like with the new wheels and tires attached, along with the brake lights.
This was my to-do list in the spring of 2013 I believe.

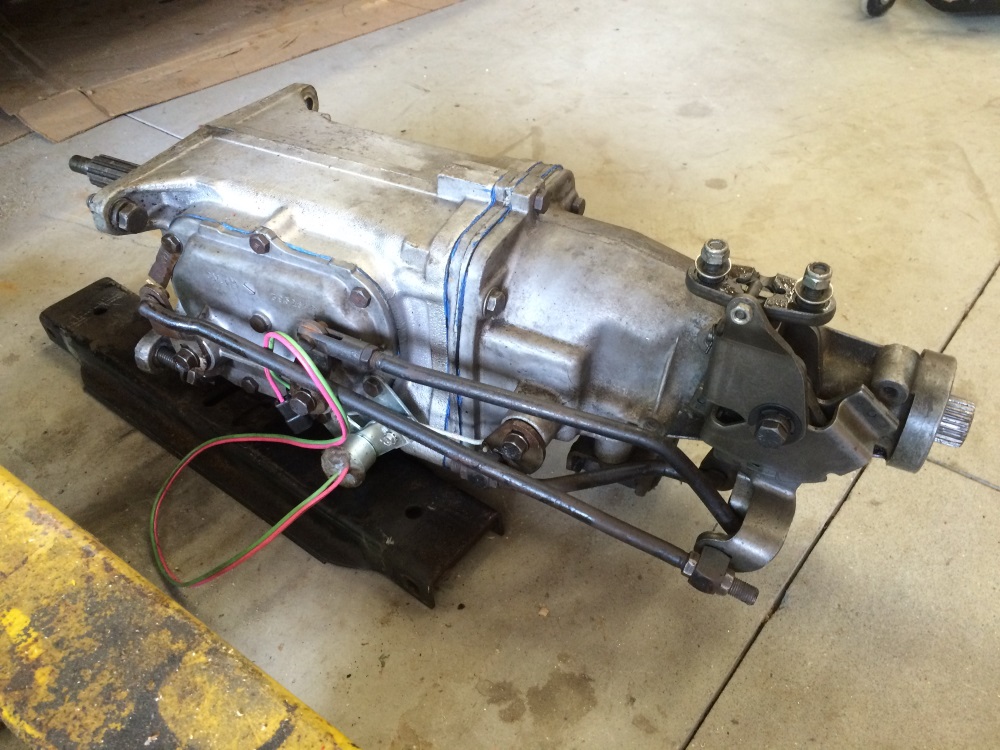
Then a funny thing happened. Â I got the car semi-drivable and the clutch started slipping like crazy. Â It got bad enough where it eventually wouldn’t even move forward. Â This made me upset, because the car had a perfectly good working clutch just weeks earlier. Â So – out came the transmission, and I found the issue. Â Some mice had made a nest in my bell housing. Â My pressure plate then swallowed it, locking the fingers in the compressed position. Â That was fun.

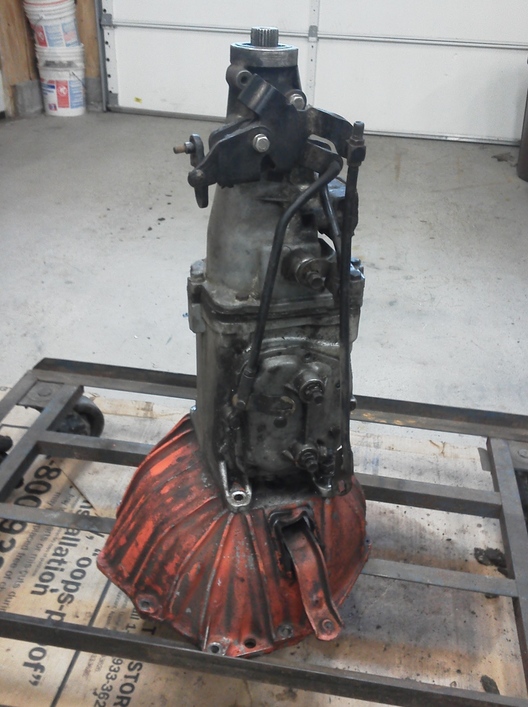
While I had the transmission out, I decided to reseal it, and when I did, I found the input shaft bearing had eaten itself. Â That was fun too.

June 2013
During a build like this, you eventually need really rare, weird parts… Â I couldnt find these anywhere on earth, so I got creative.

I hopped on eBay and found a guy selling the frame of a 64 Impala. Â I sent him the picture below and asked him if he would sell that item. He was like “Sure $15.”

Time passed and I got them in the mail.

I then thread chased and blasted my nuts.

Painted my nuts.
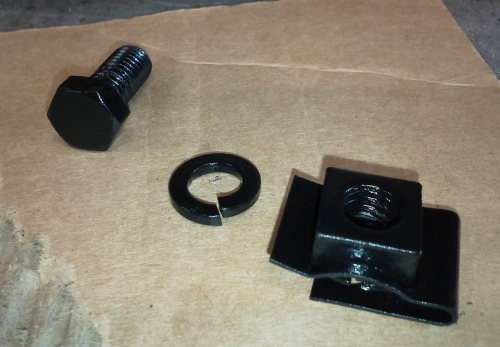
Assembled my nuts.
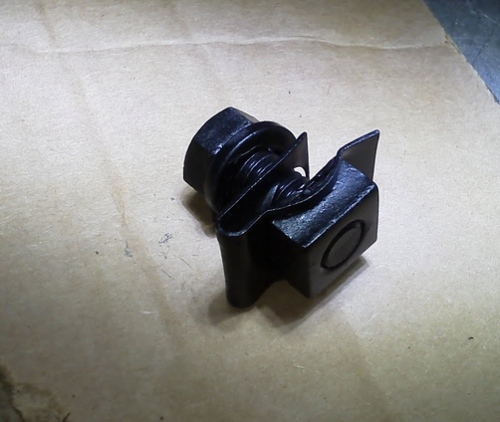
….And installed them on my frame.
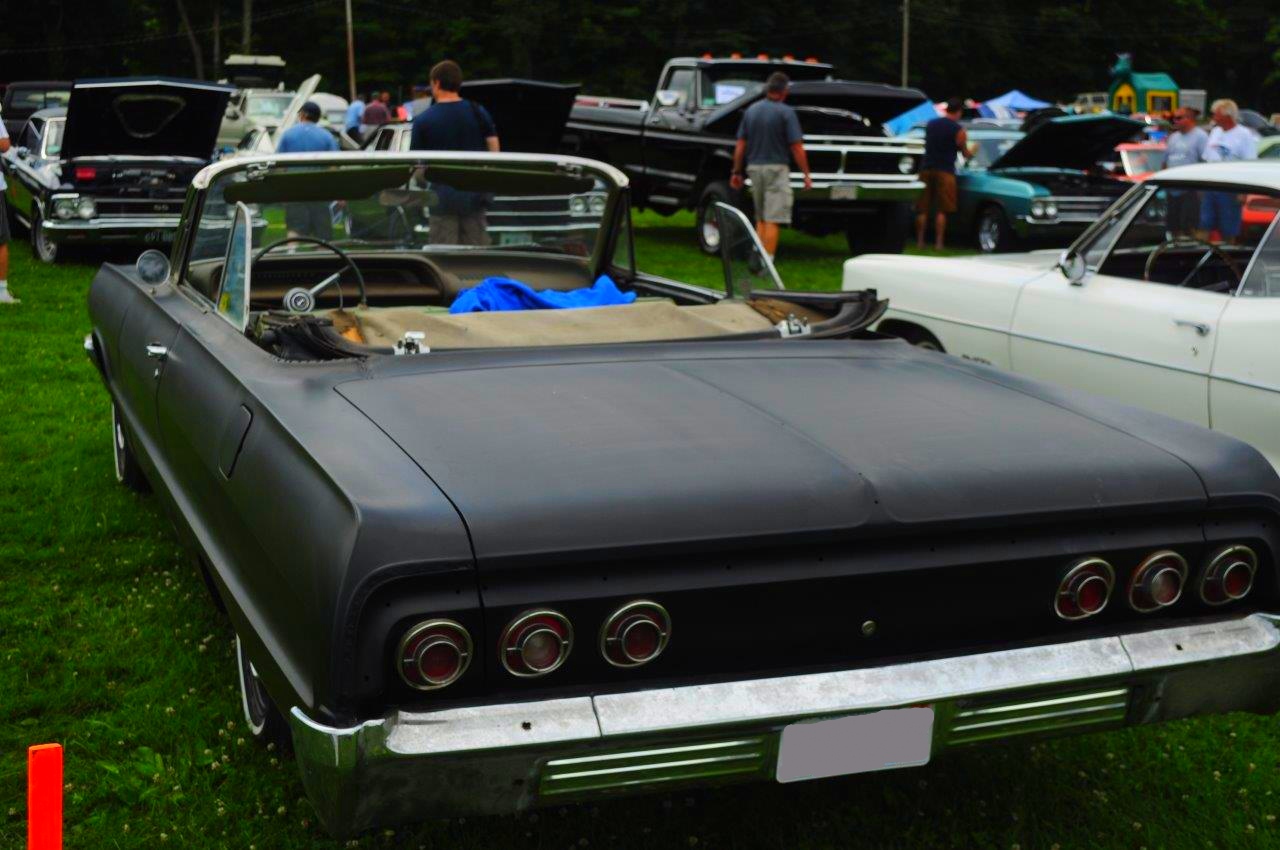
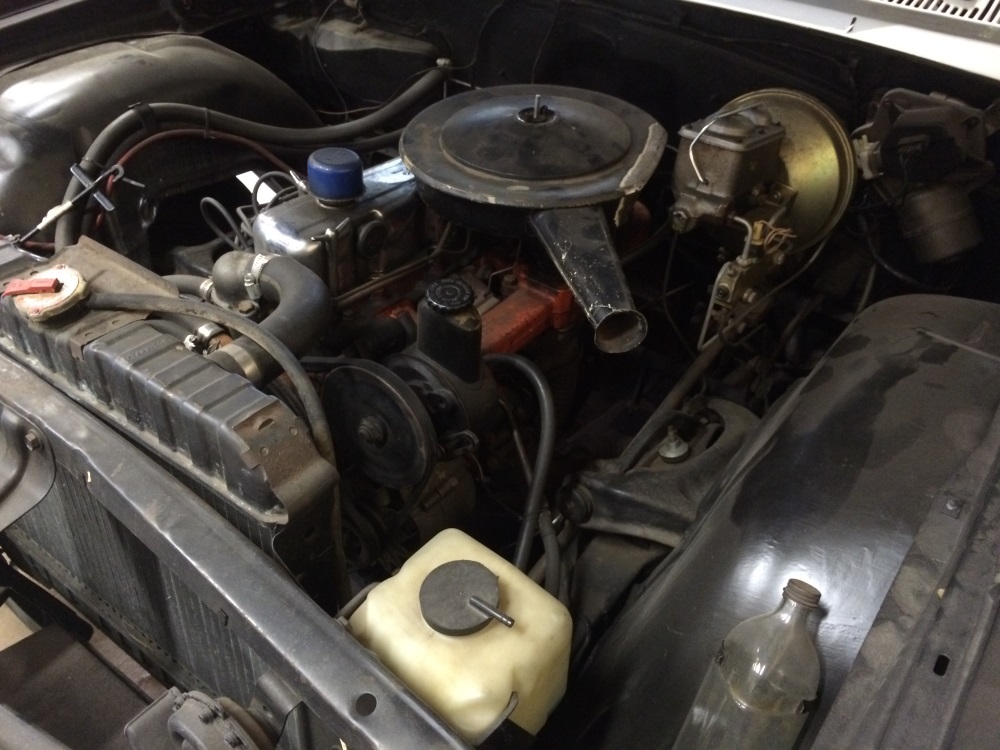
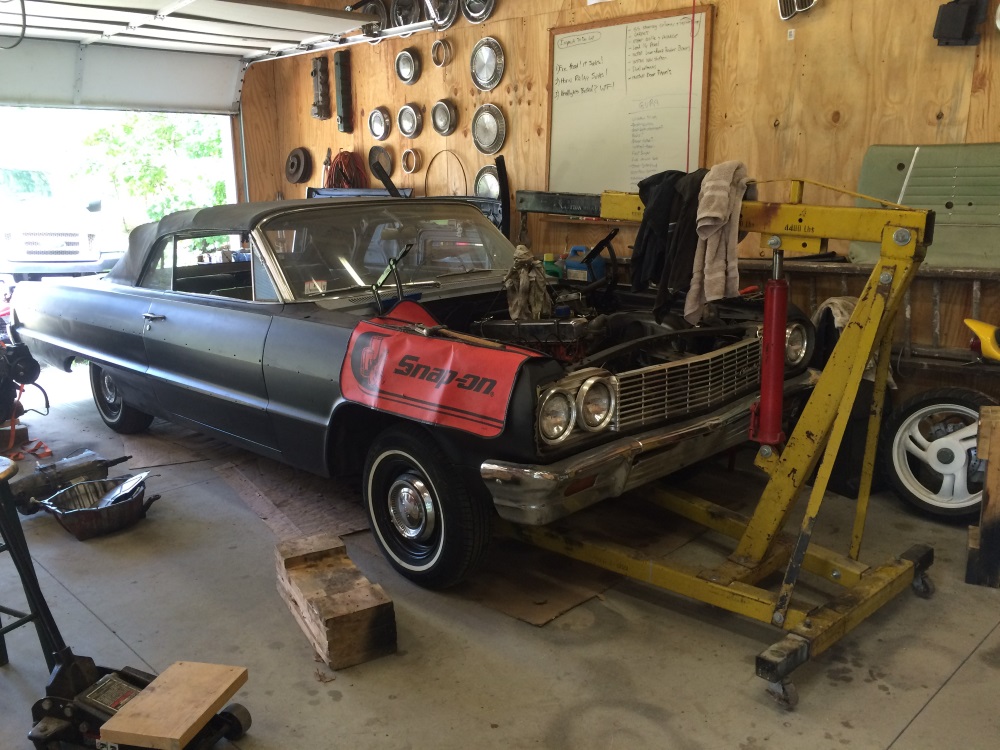
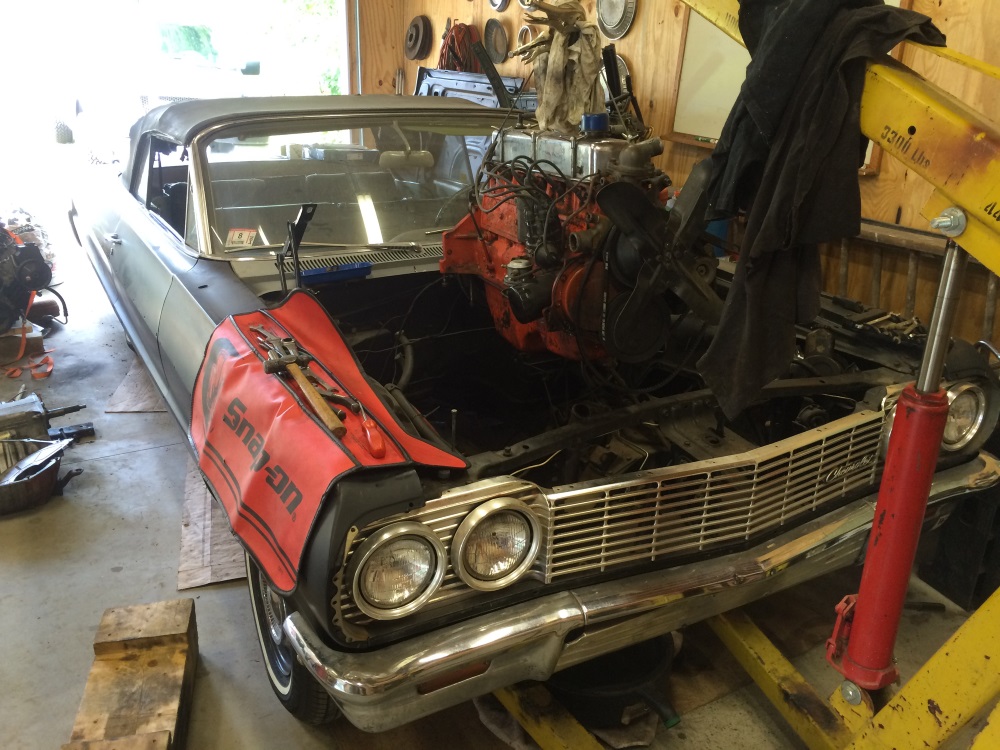
At last – the car was finally together and drivable. I drove it throughout the summer of 2014, and it worked most of the time. The carburetor occasionally made me want to light the car on fire.


I even took it to a car show in July 2013!

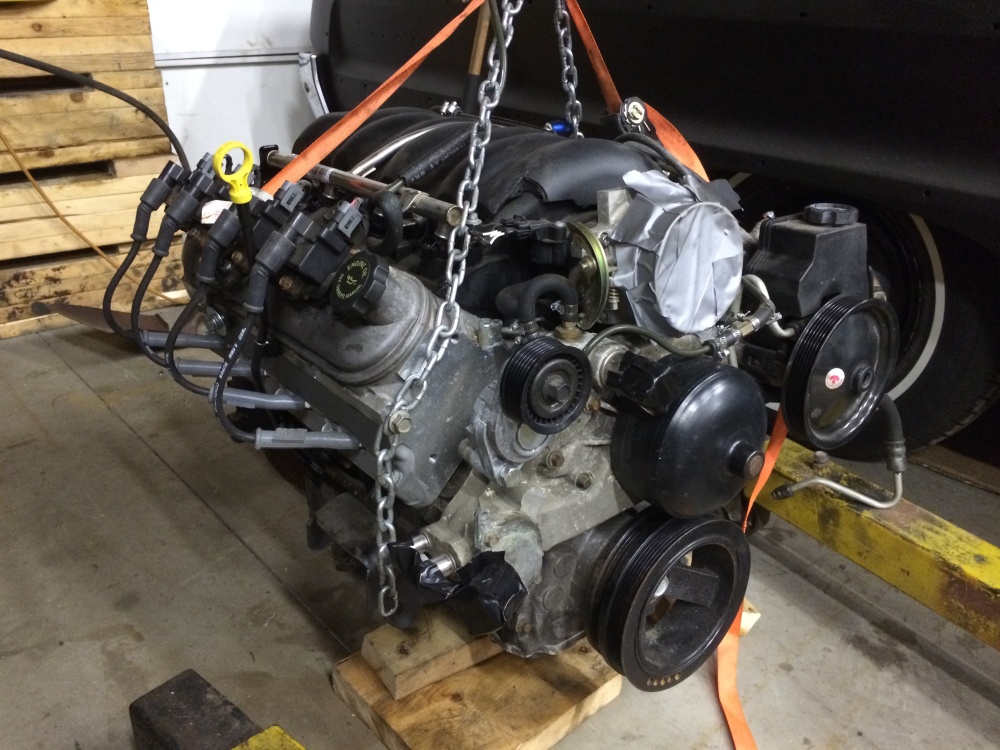
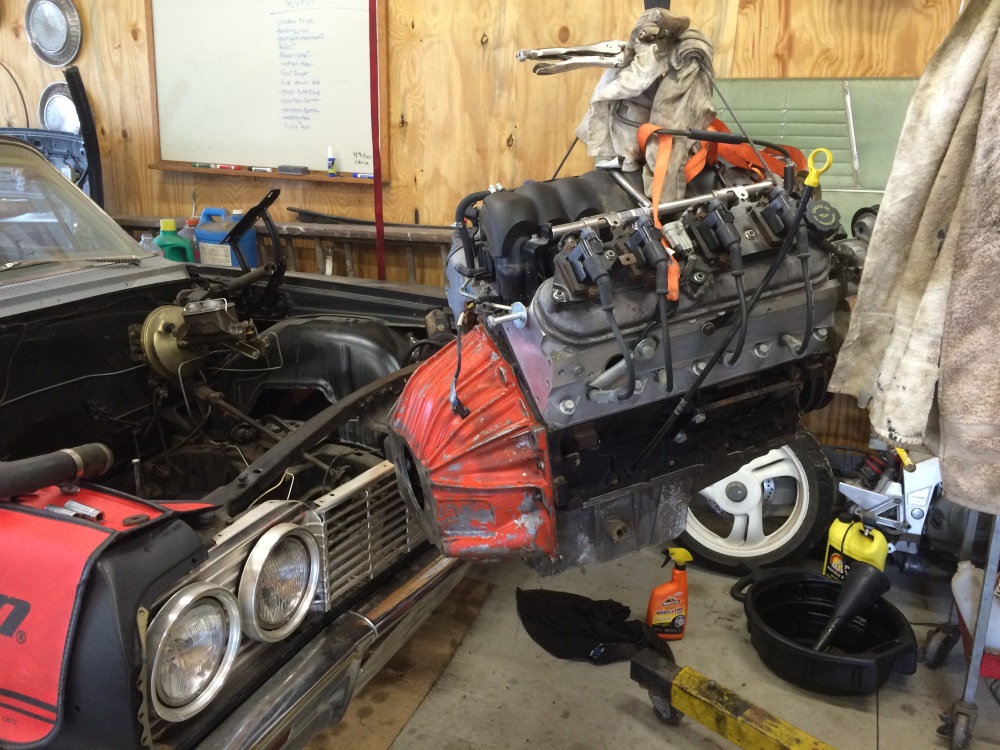
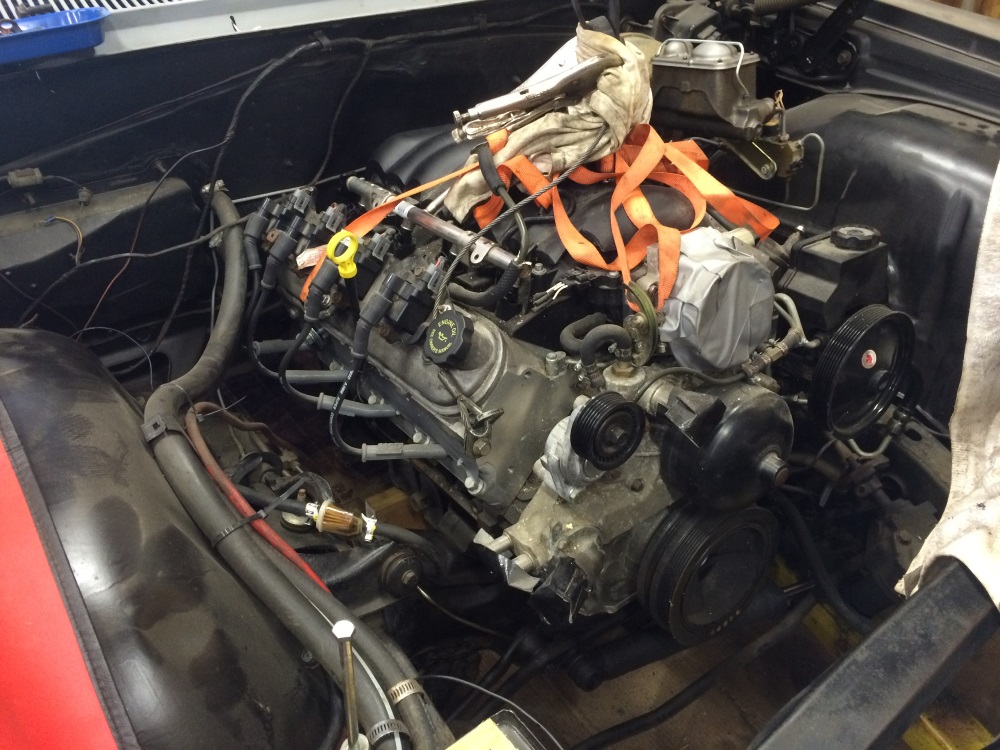
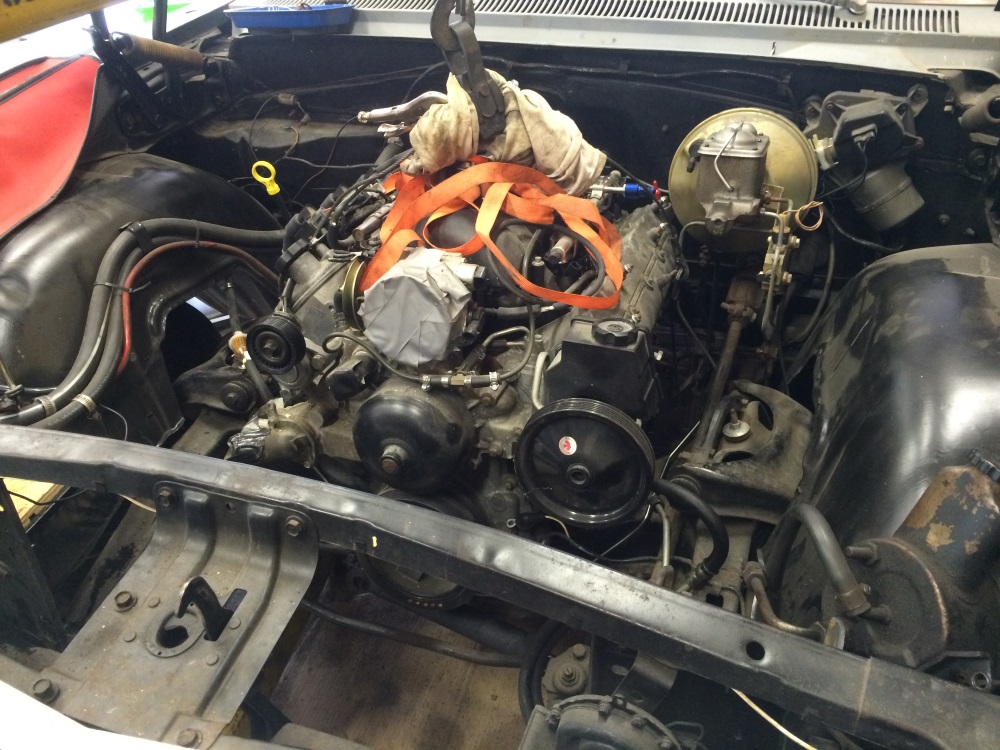
After fighting with the carburetor far too many times for far too long and also feeling like I needed more power, I decided that an LQ9 (2006 Escalade 6.0L V8) was needed. It has L92 (6.2L) heads, and Camaro accessories.
May 2014
Dec 2015


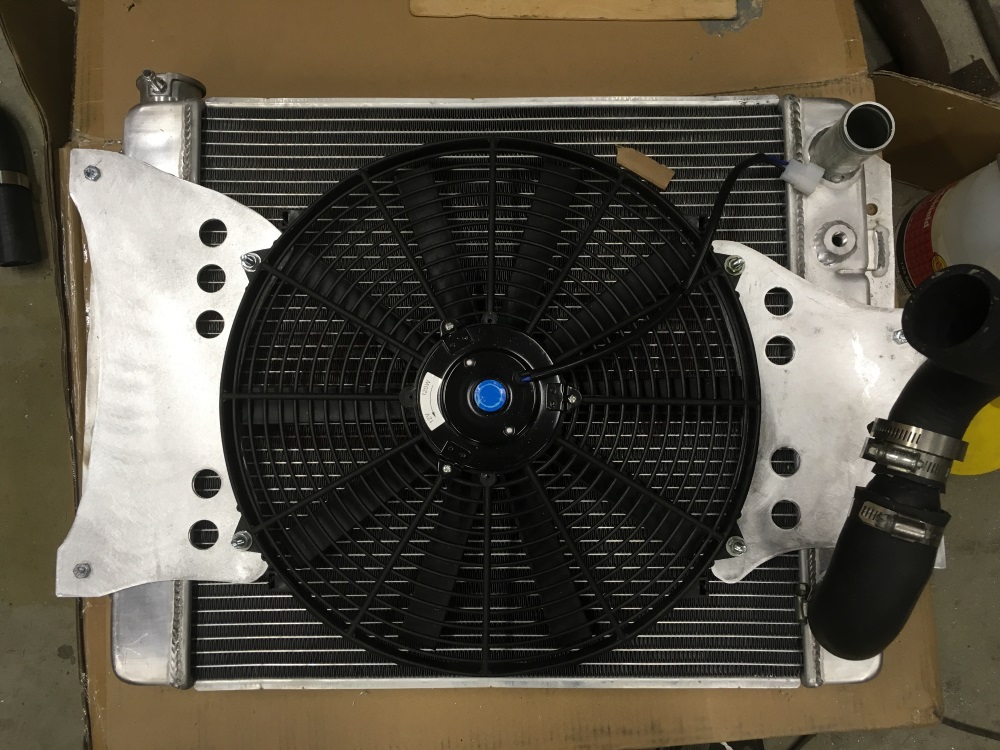
I bought a universal radiator from Speedwaymotors.com. I then needed to add mounts and bungs and stuff to make it work.
I didn’t get too crazy with the fan mounts. I just wanted crap to function, so this is what I did.
1) Added mounting brackets to the radiator to mount it to the car.
2) Added brackets to mount the fan to
3) Added 1/4 NPT bung for the head steam vents to attach to.

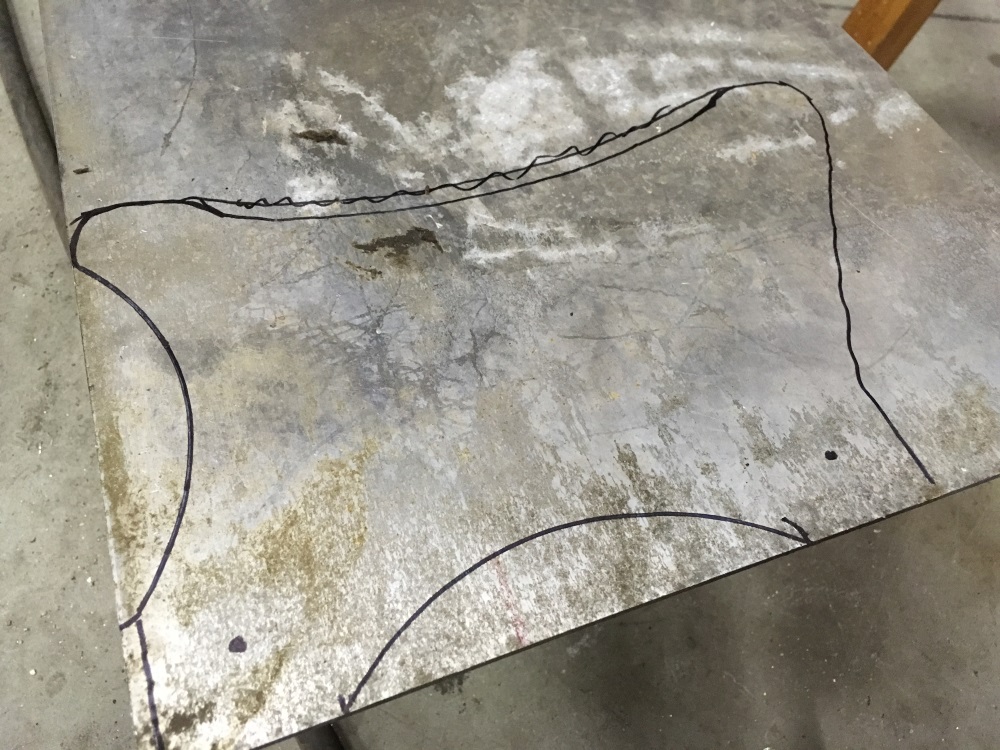
4) Made some cardboard templates

5) Traced them onto some scrap aluminum

6) Yuck
7) Test fit stuff

8) Drilled holes and cleaned up the aluminum a bit